

In this workshop we hope to be able to work through several different composite techniques in a Fablab setting, including:
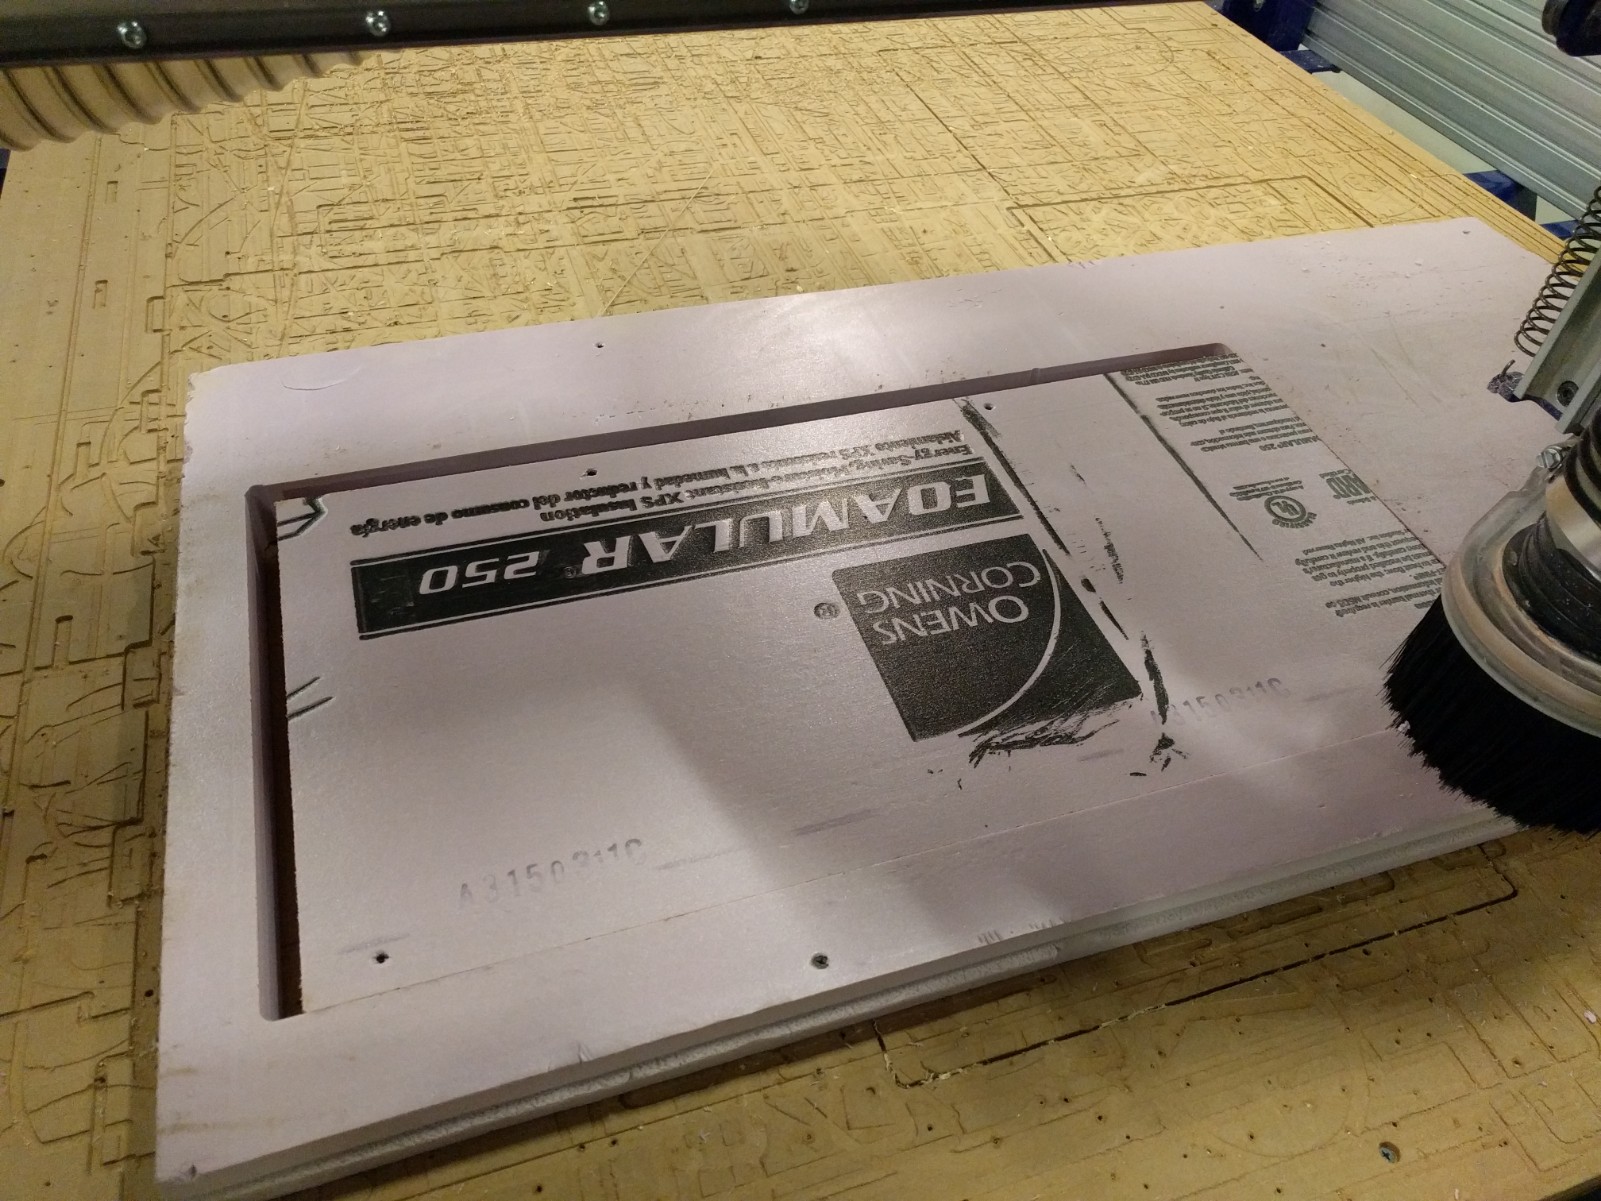
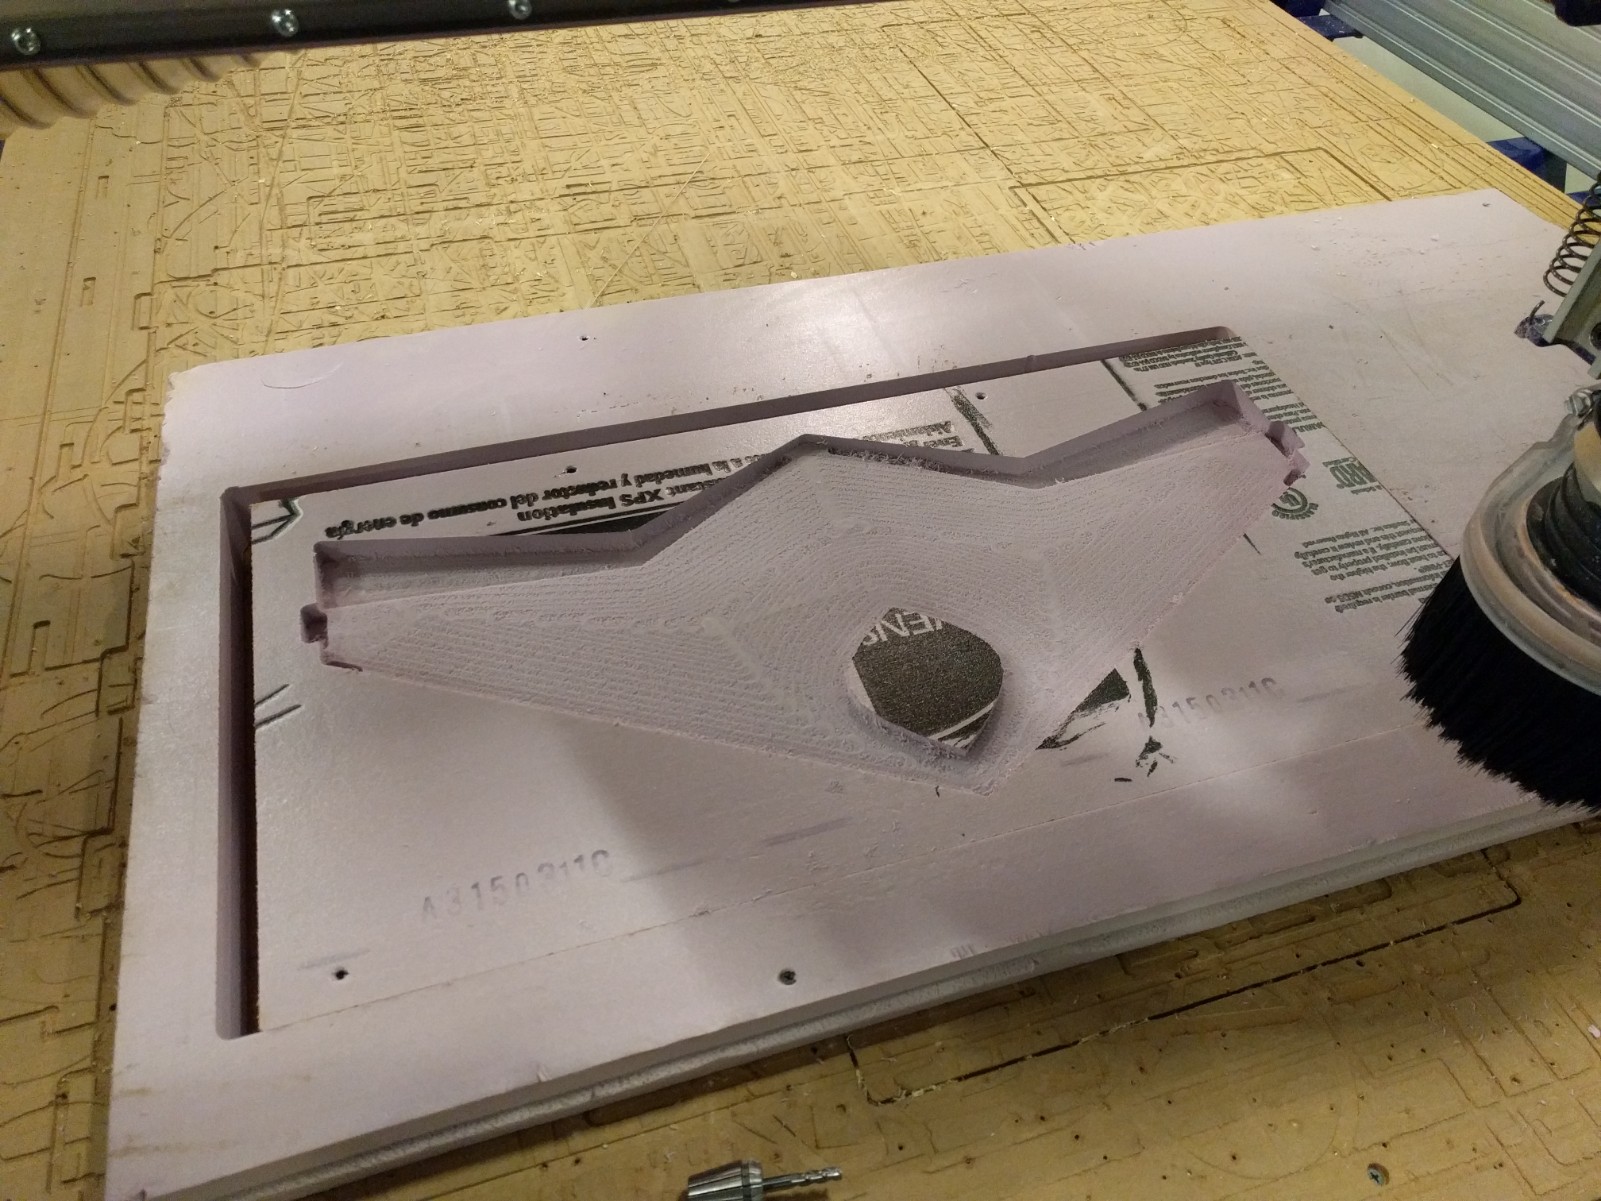
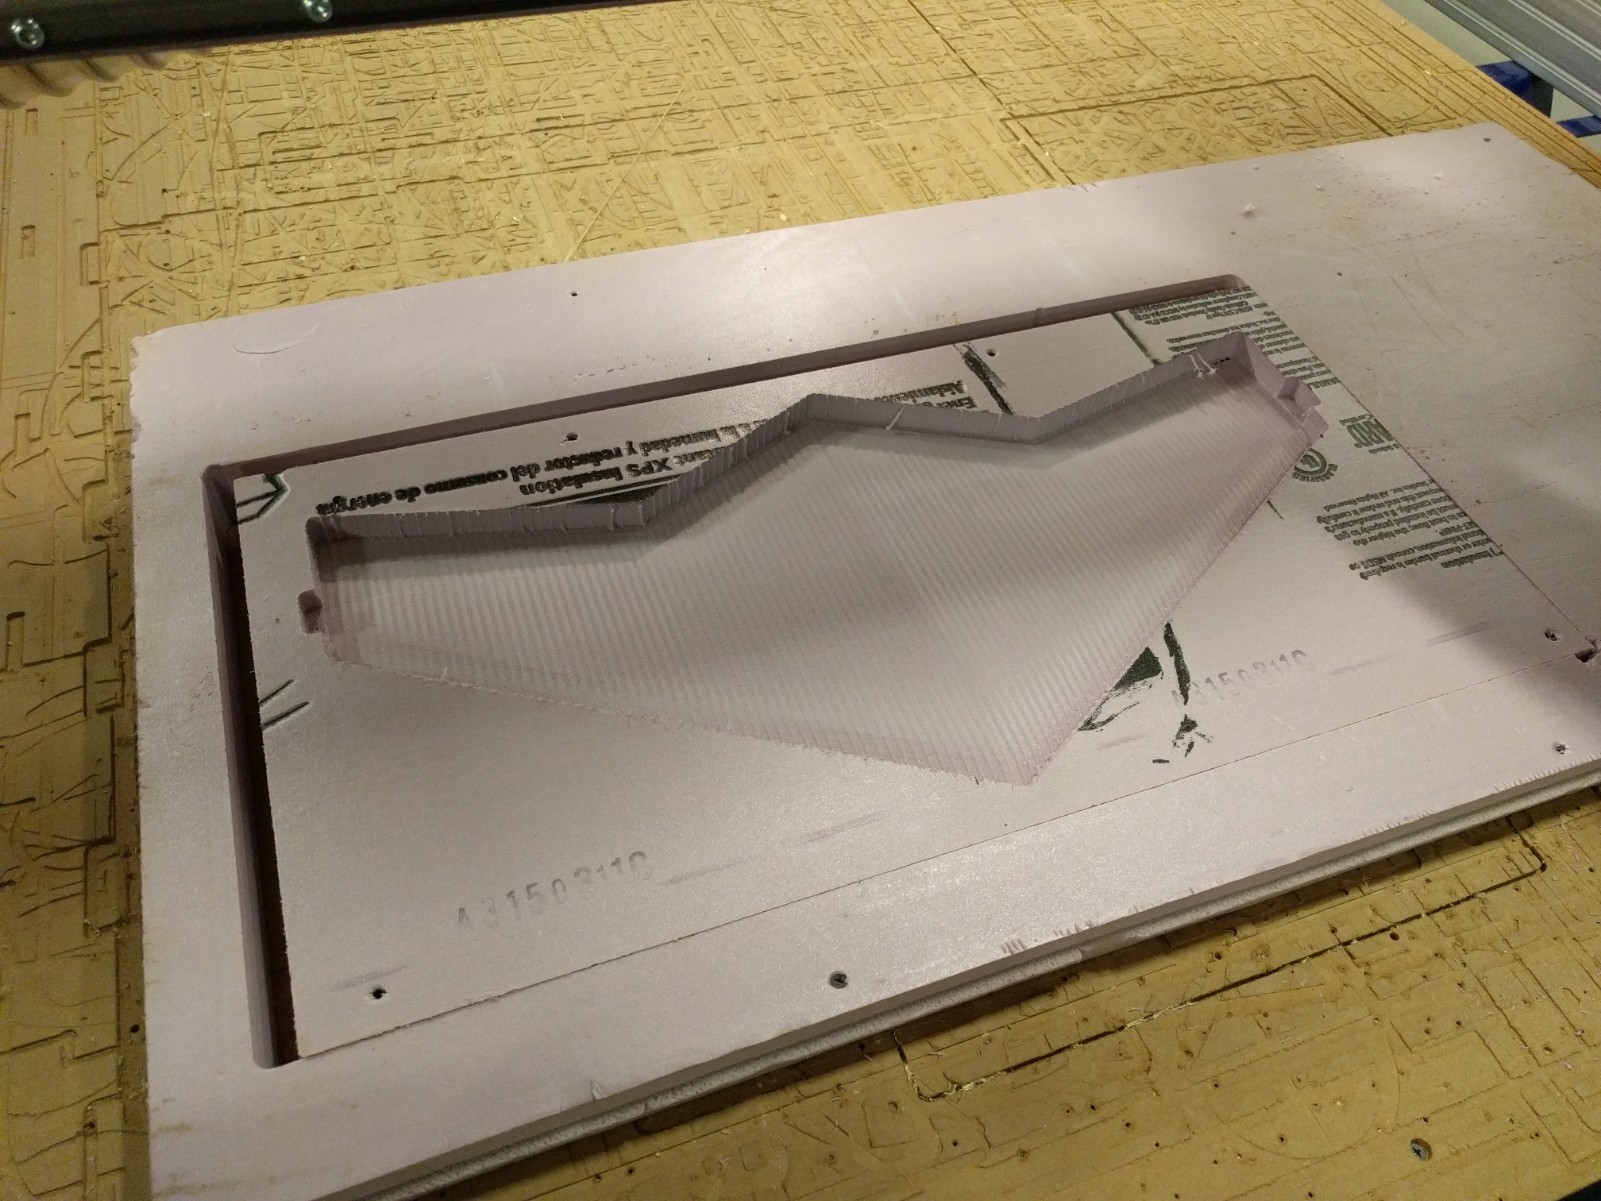
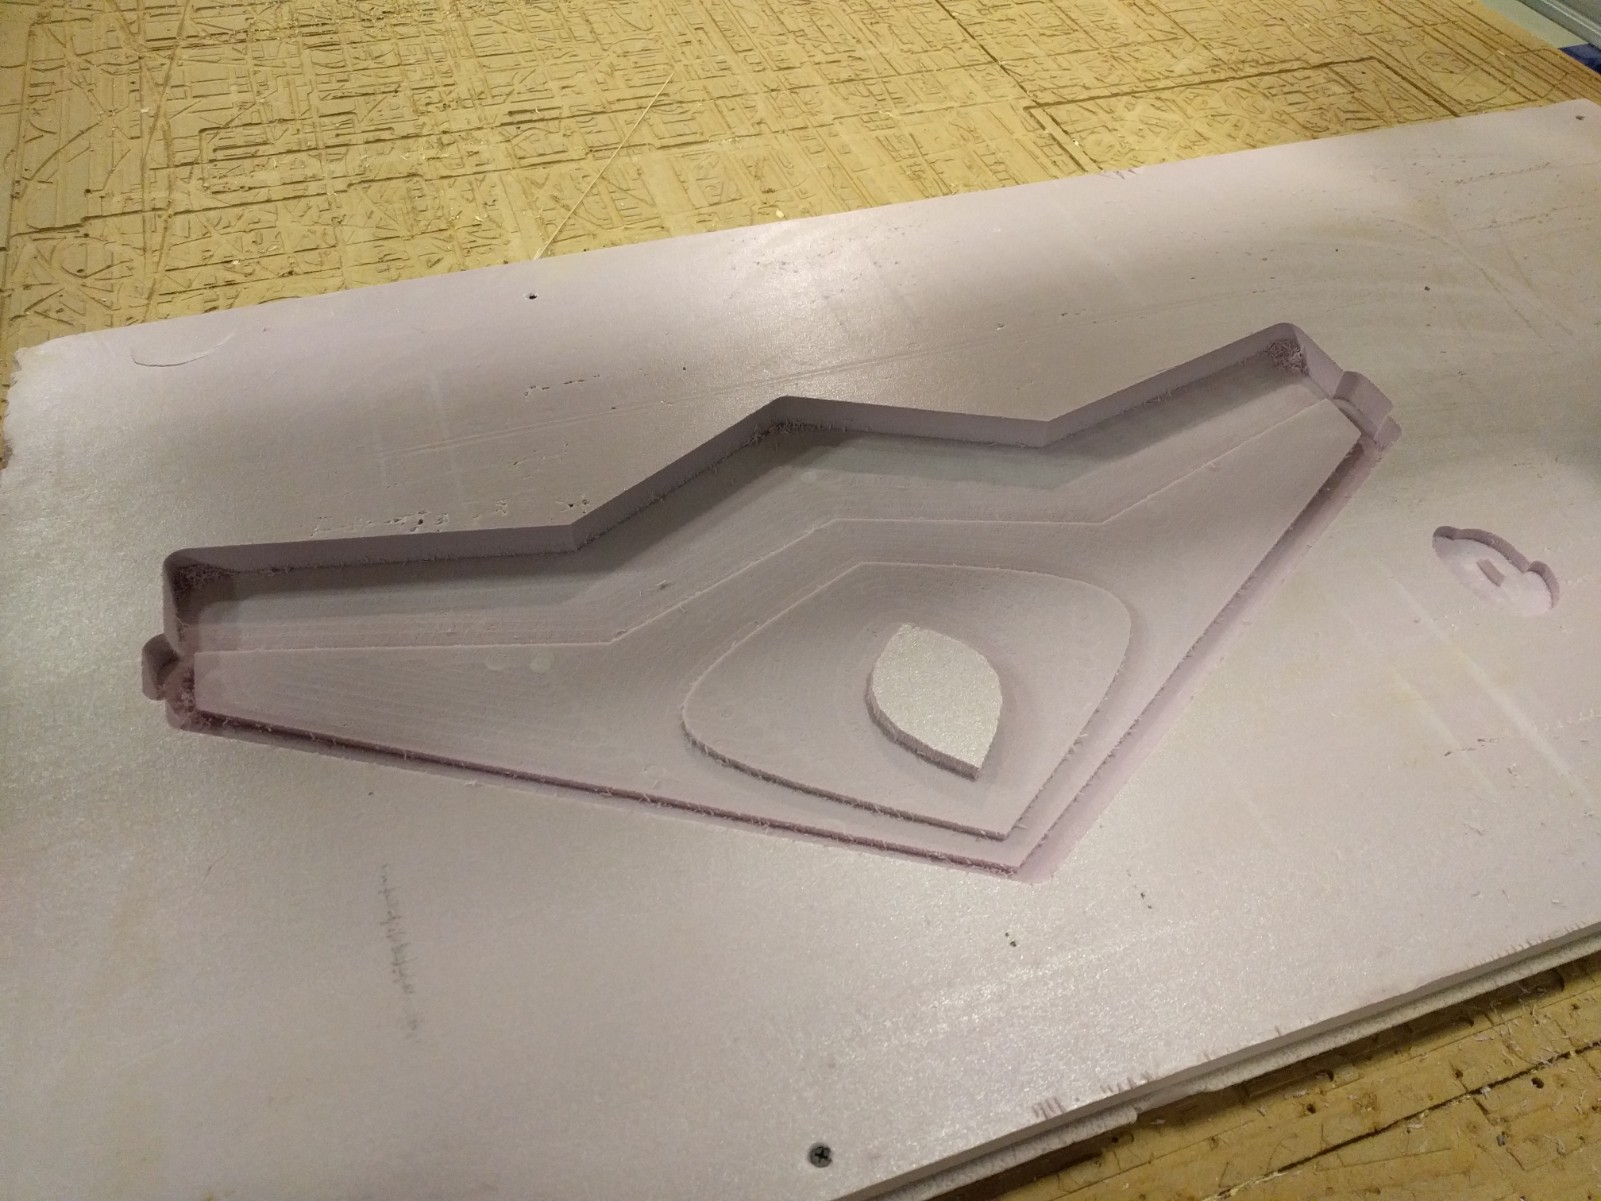
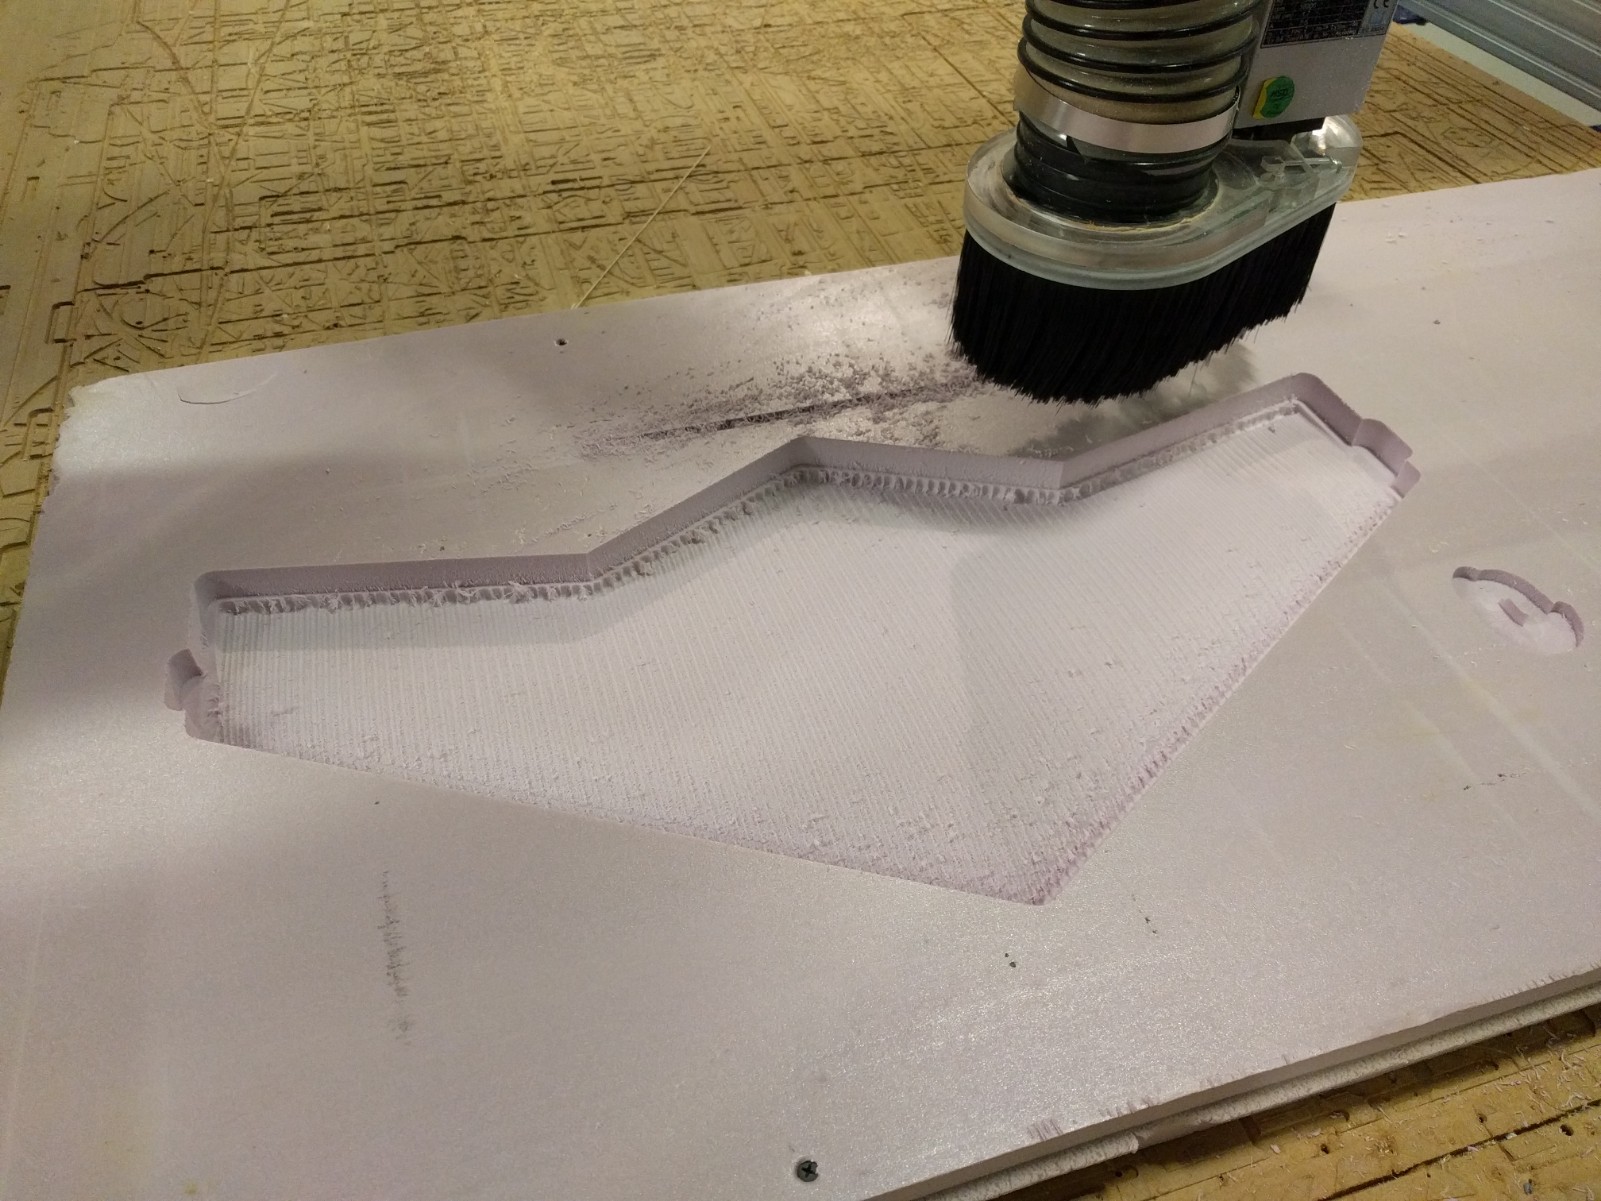
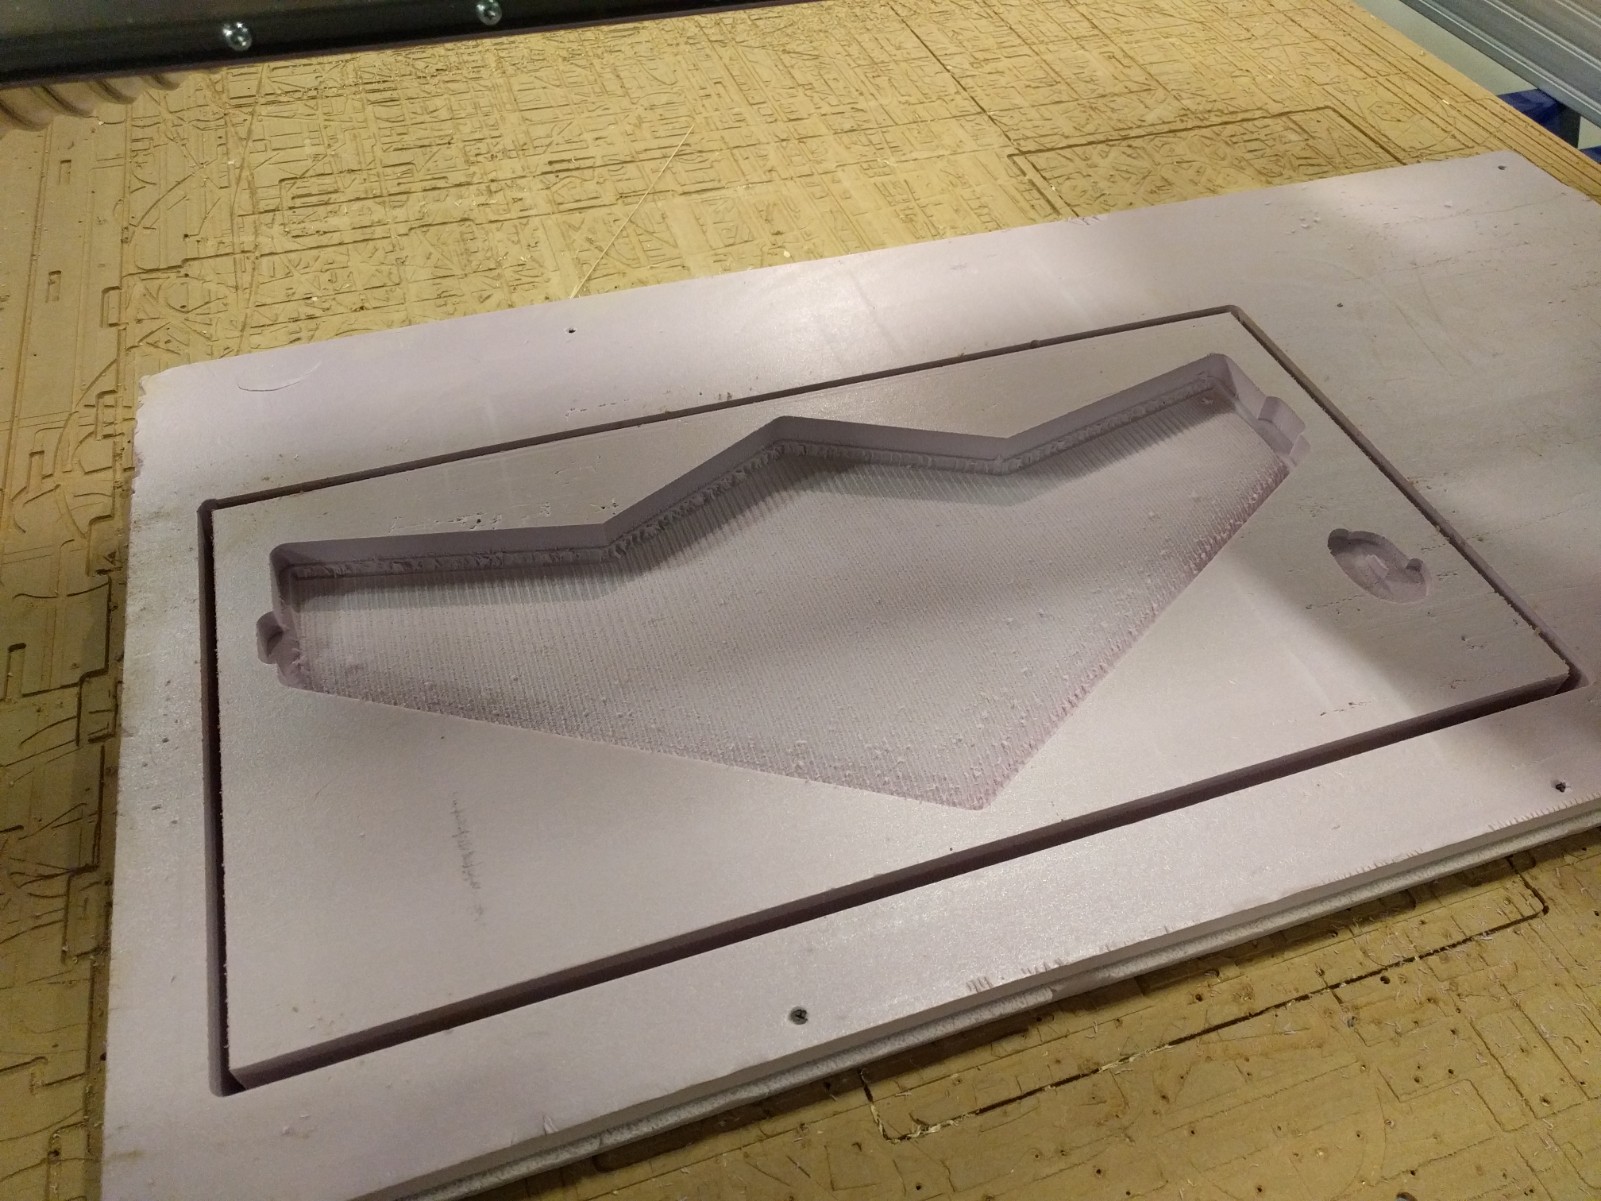
In preparation for the workshop we have milled 2 foam cores to practice layup techniques on.


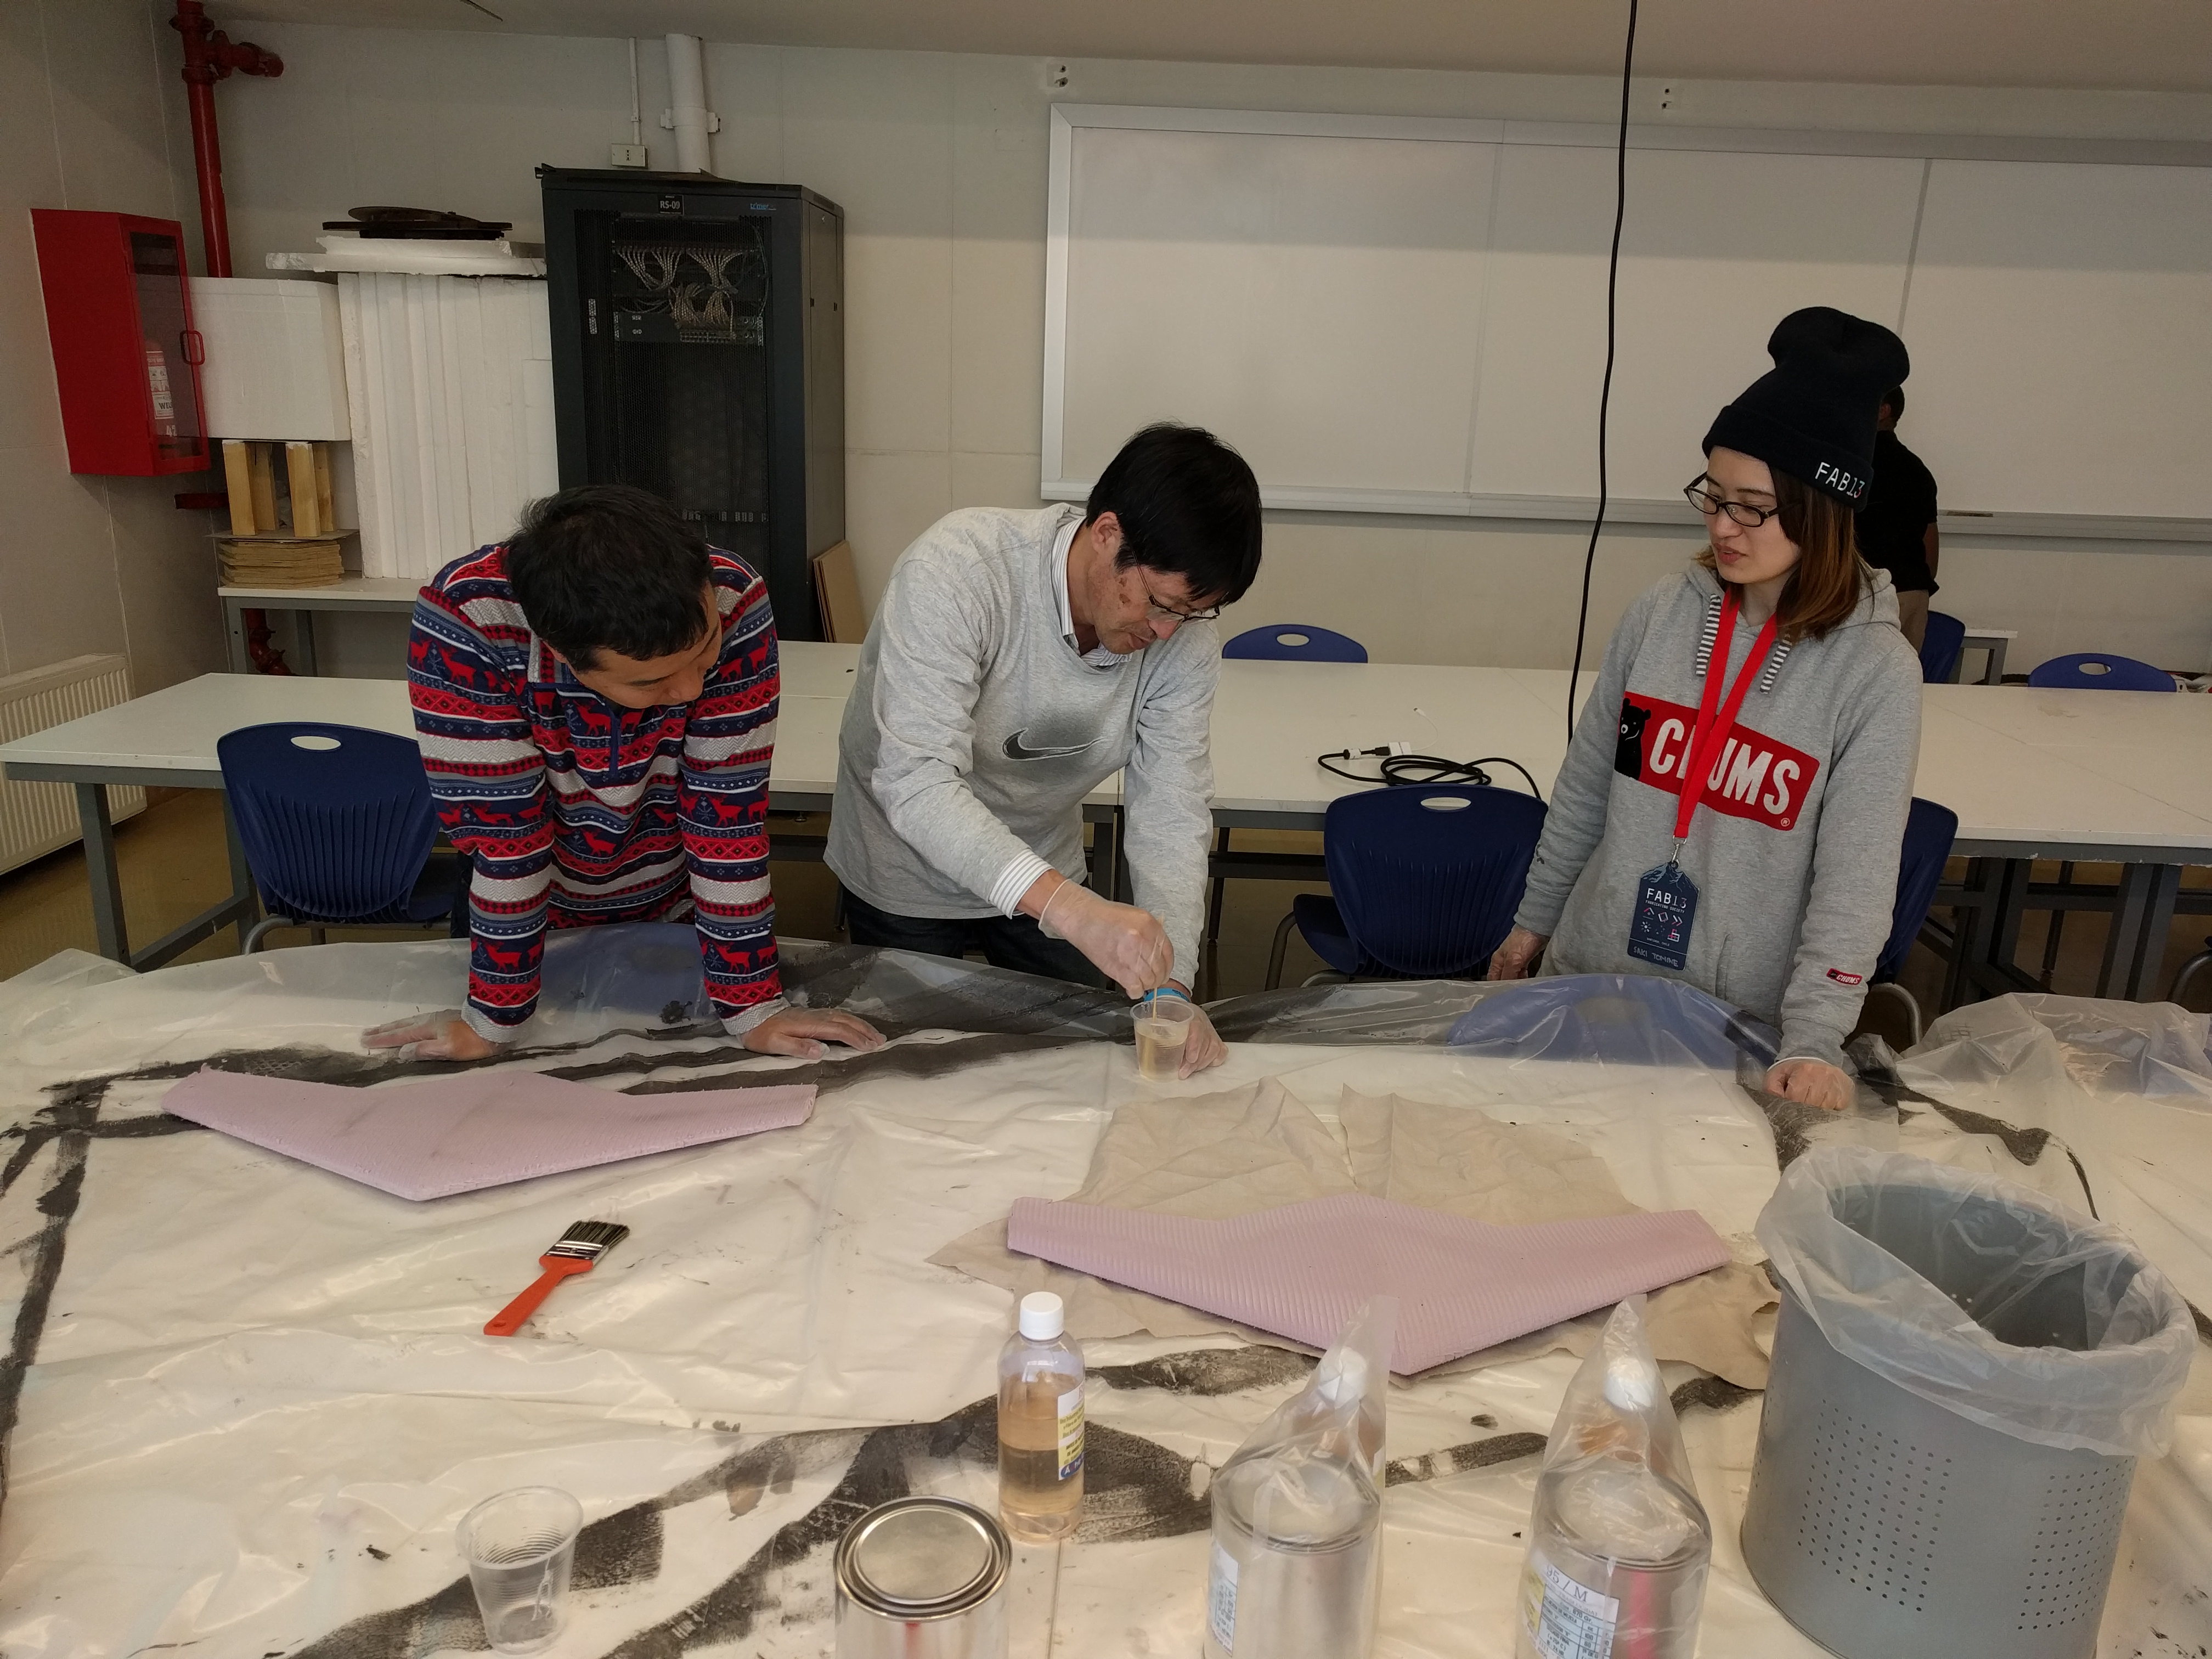
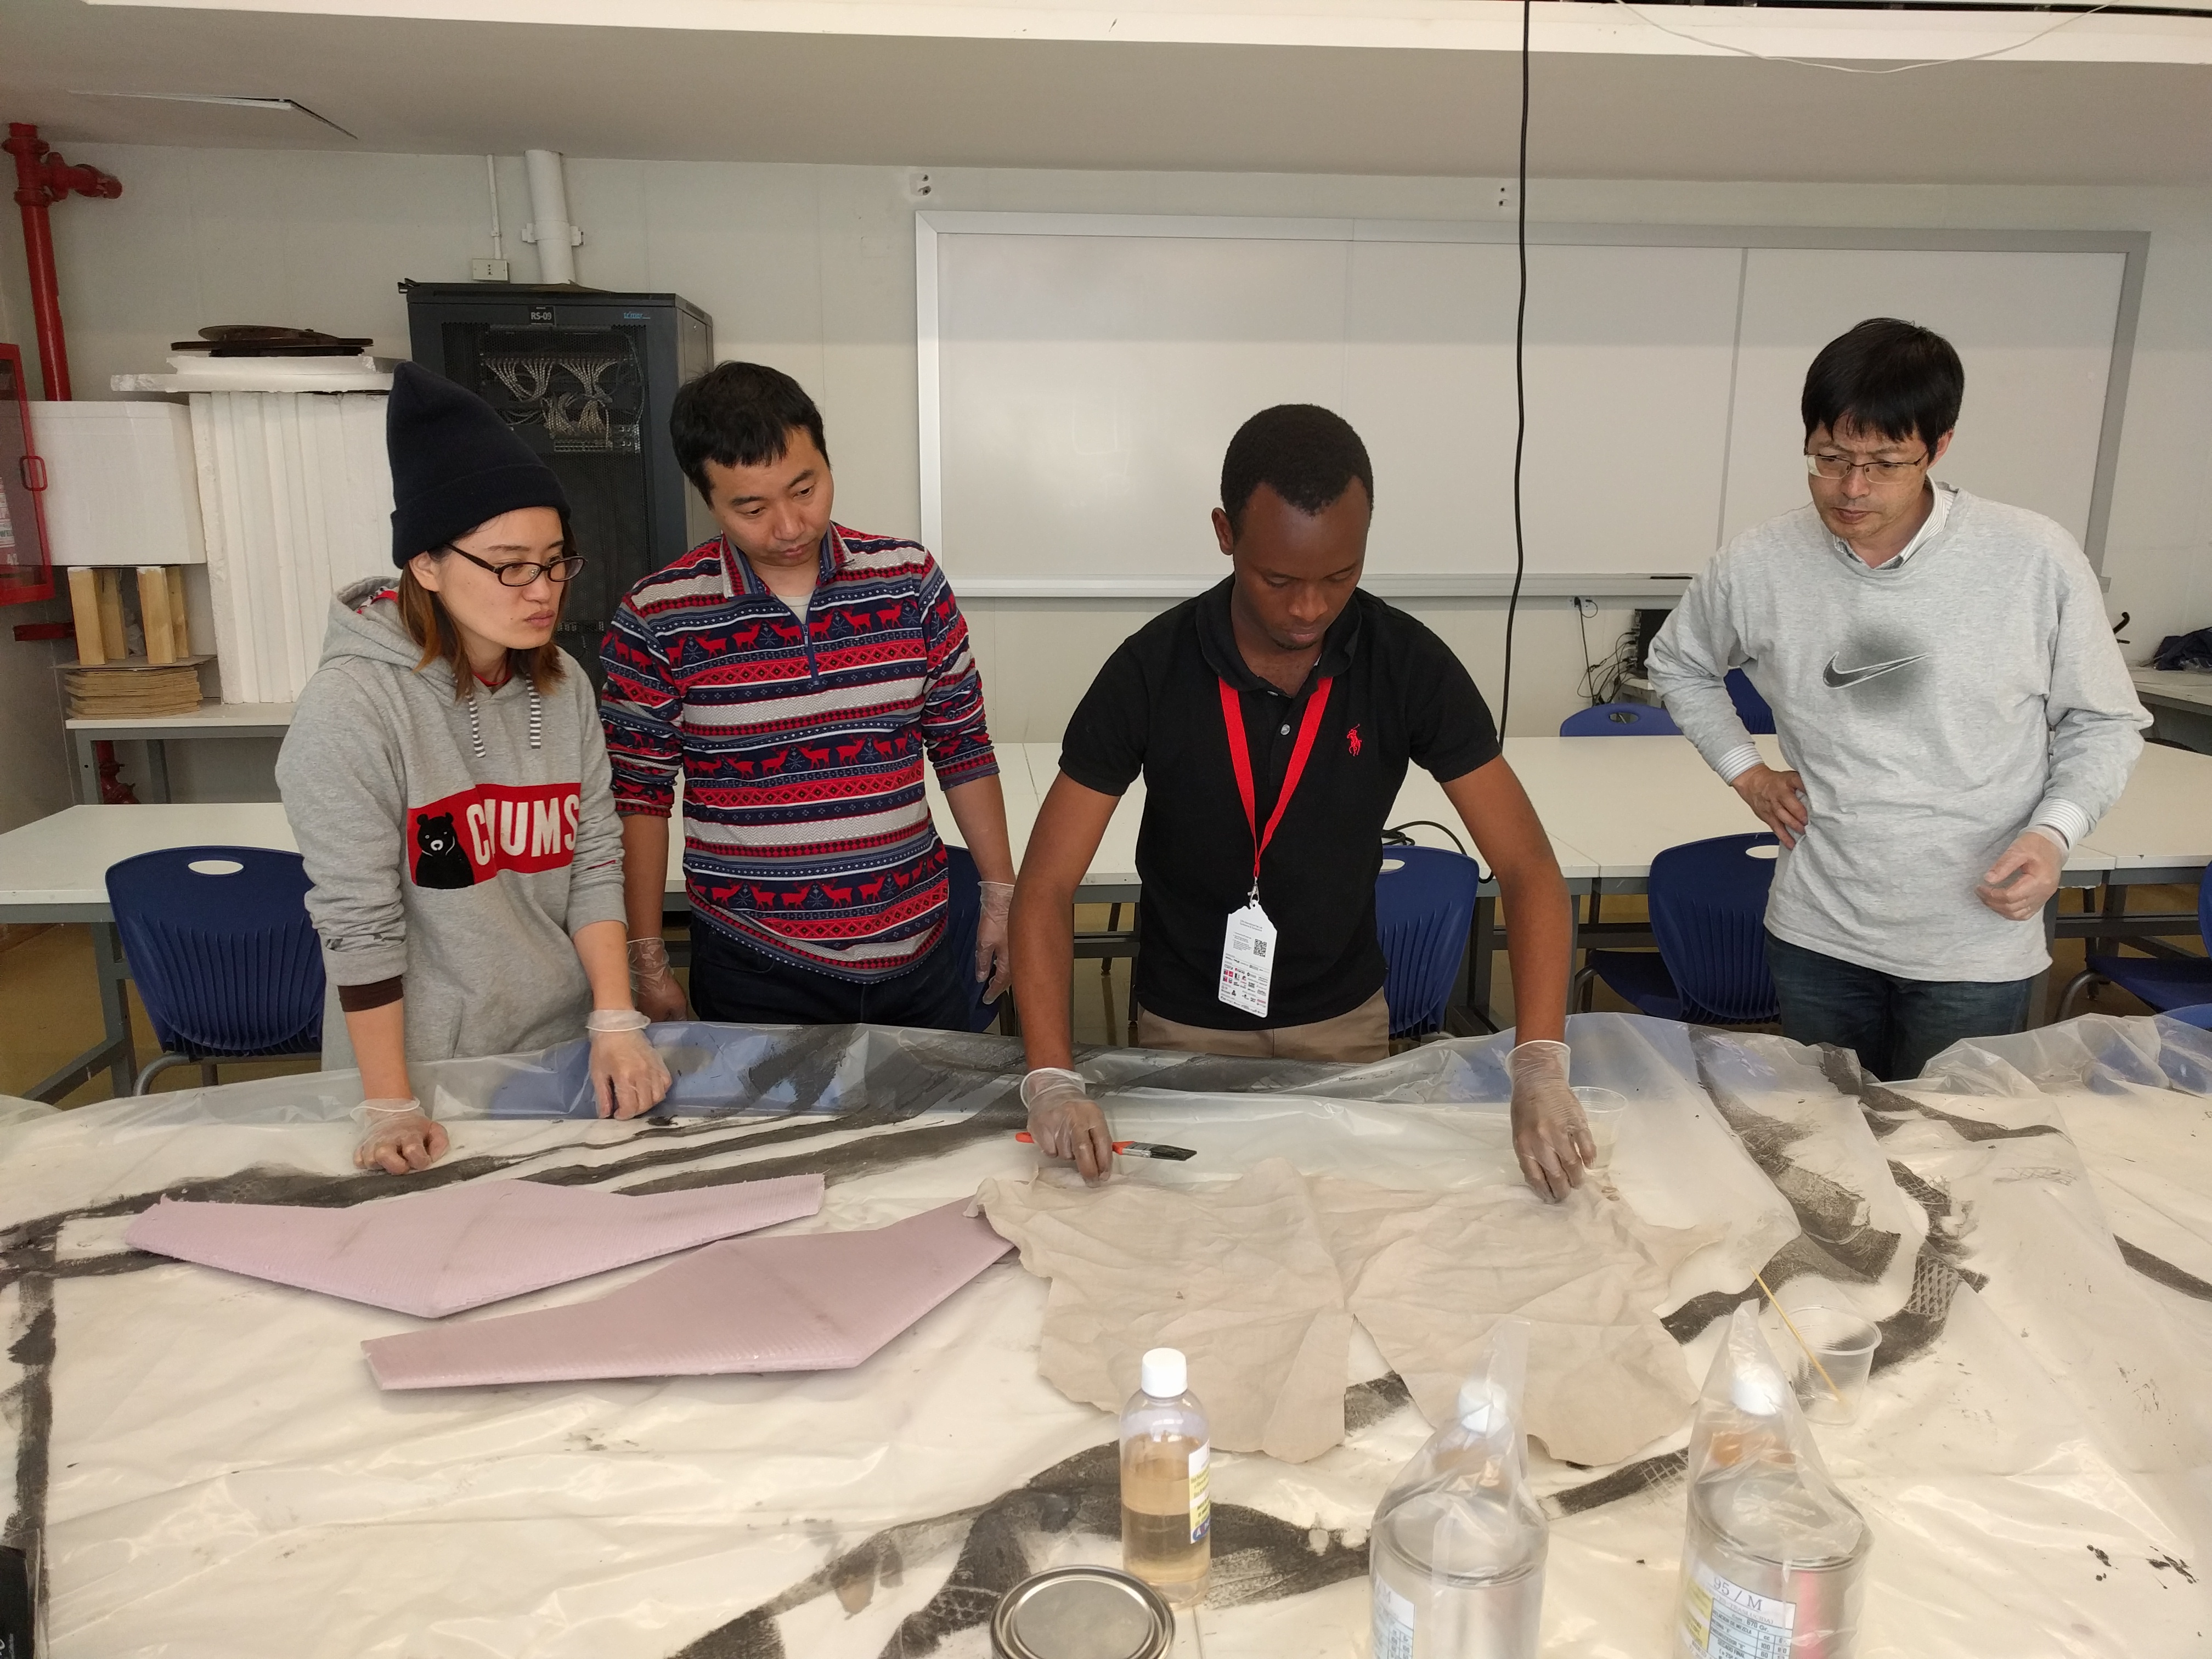
Ensure that you only mix as much epoxy as you need. Epoxy undergoes an exothermic reaction as it cures and in large quantities this can result in temperatures capable of melting the cup that it's being mixed in
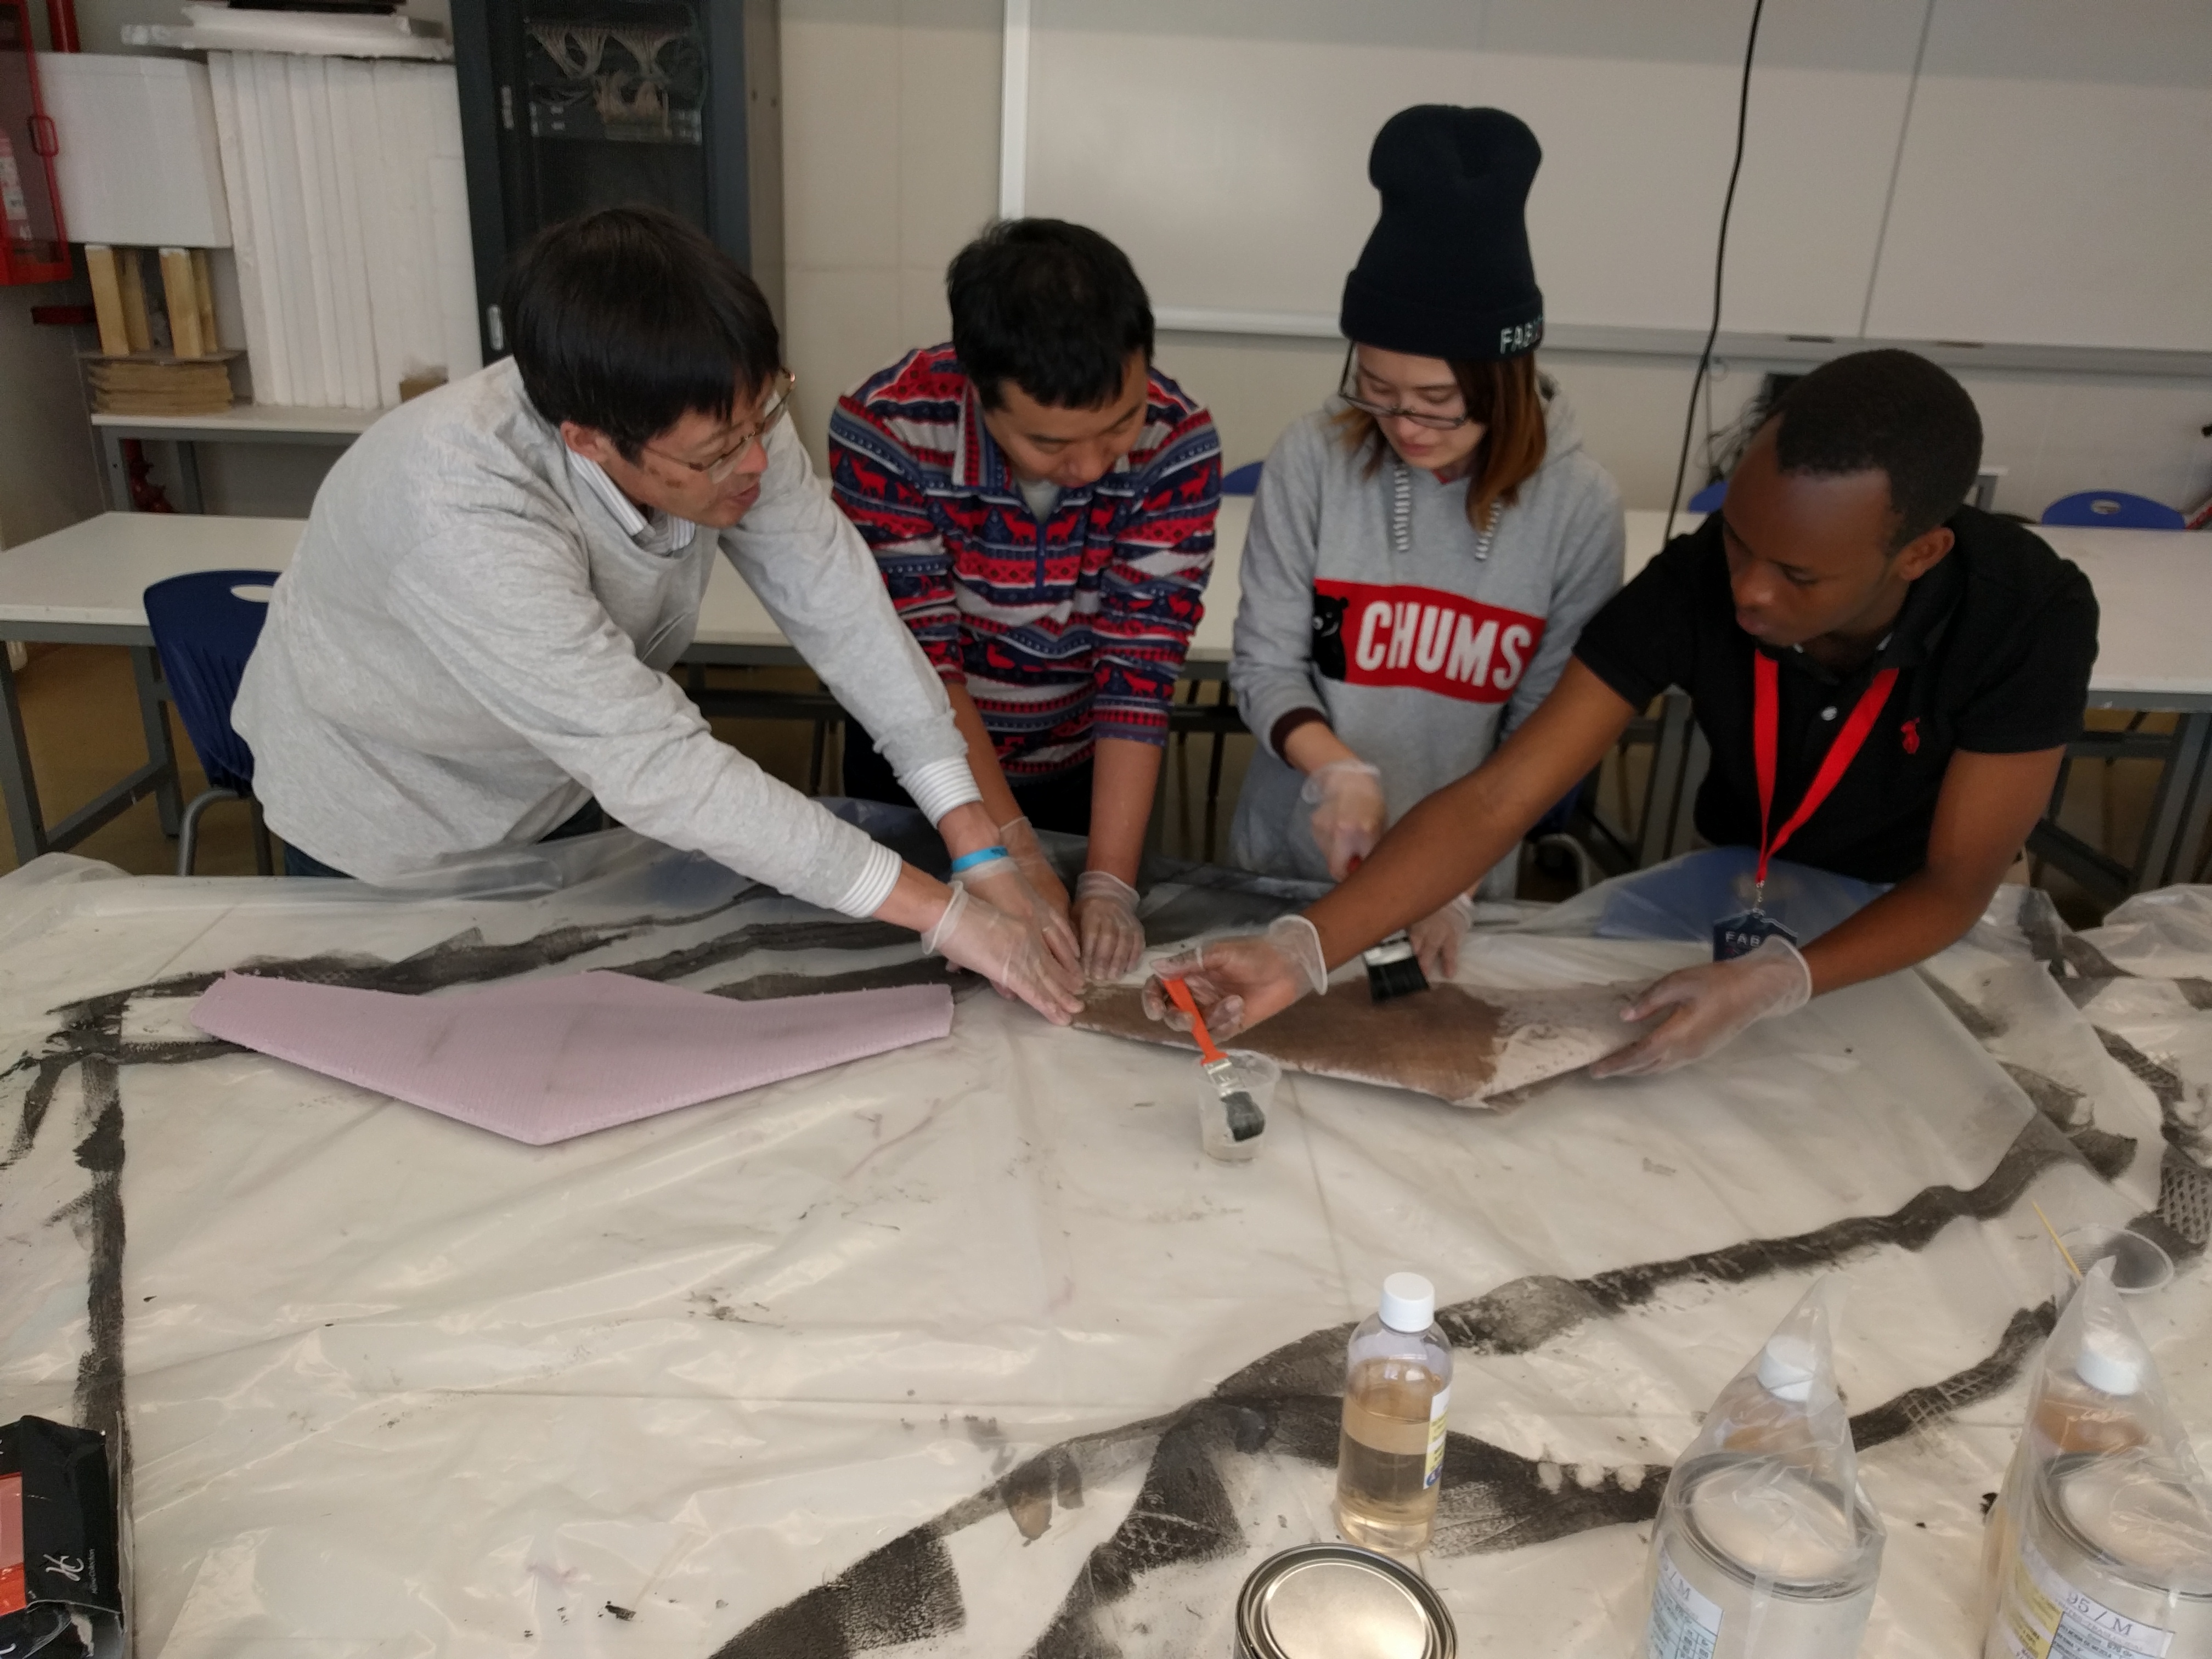
In situations where it is necessary to remove excess expoxy, you can wrap a perforated release film around the part. Then add a layer of breather which can absorb the excess epoxy and finally place everything into a vacuum bag to pull the vacuum on.
In RTM you pull a positive pressure gradient across the mold. In this way you can achieve a larger difference in the pressure gradient but you also have to deal with the positive pressure pushing the mold halves apart.

VARTM can be a simpler form of RTM. VARTM using a vacuum, therefore, negative pressure to move the resin through the mold. For this reason the pressure differential is limited to -15 psi as this is the difference between atmospheric pressure and the pressure of a vacuum. The benefit of this technique is that the negative pressure gradient pulls the mold halves together.
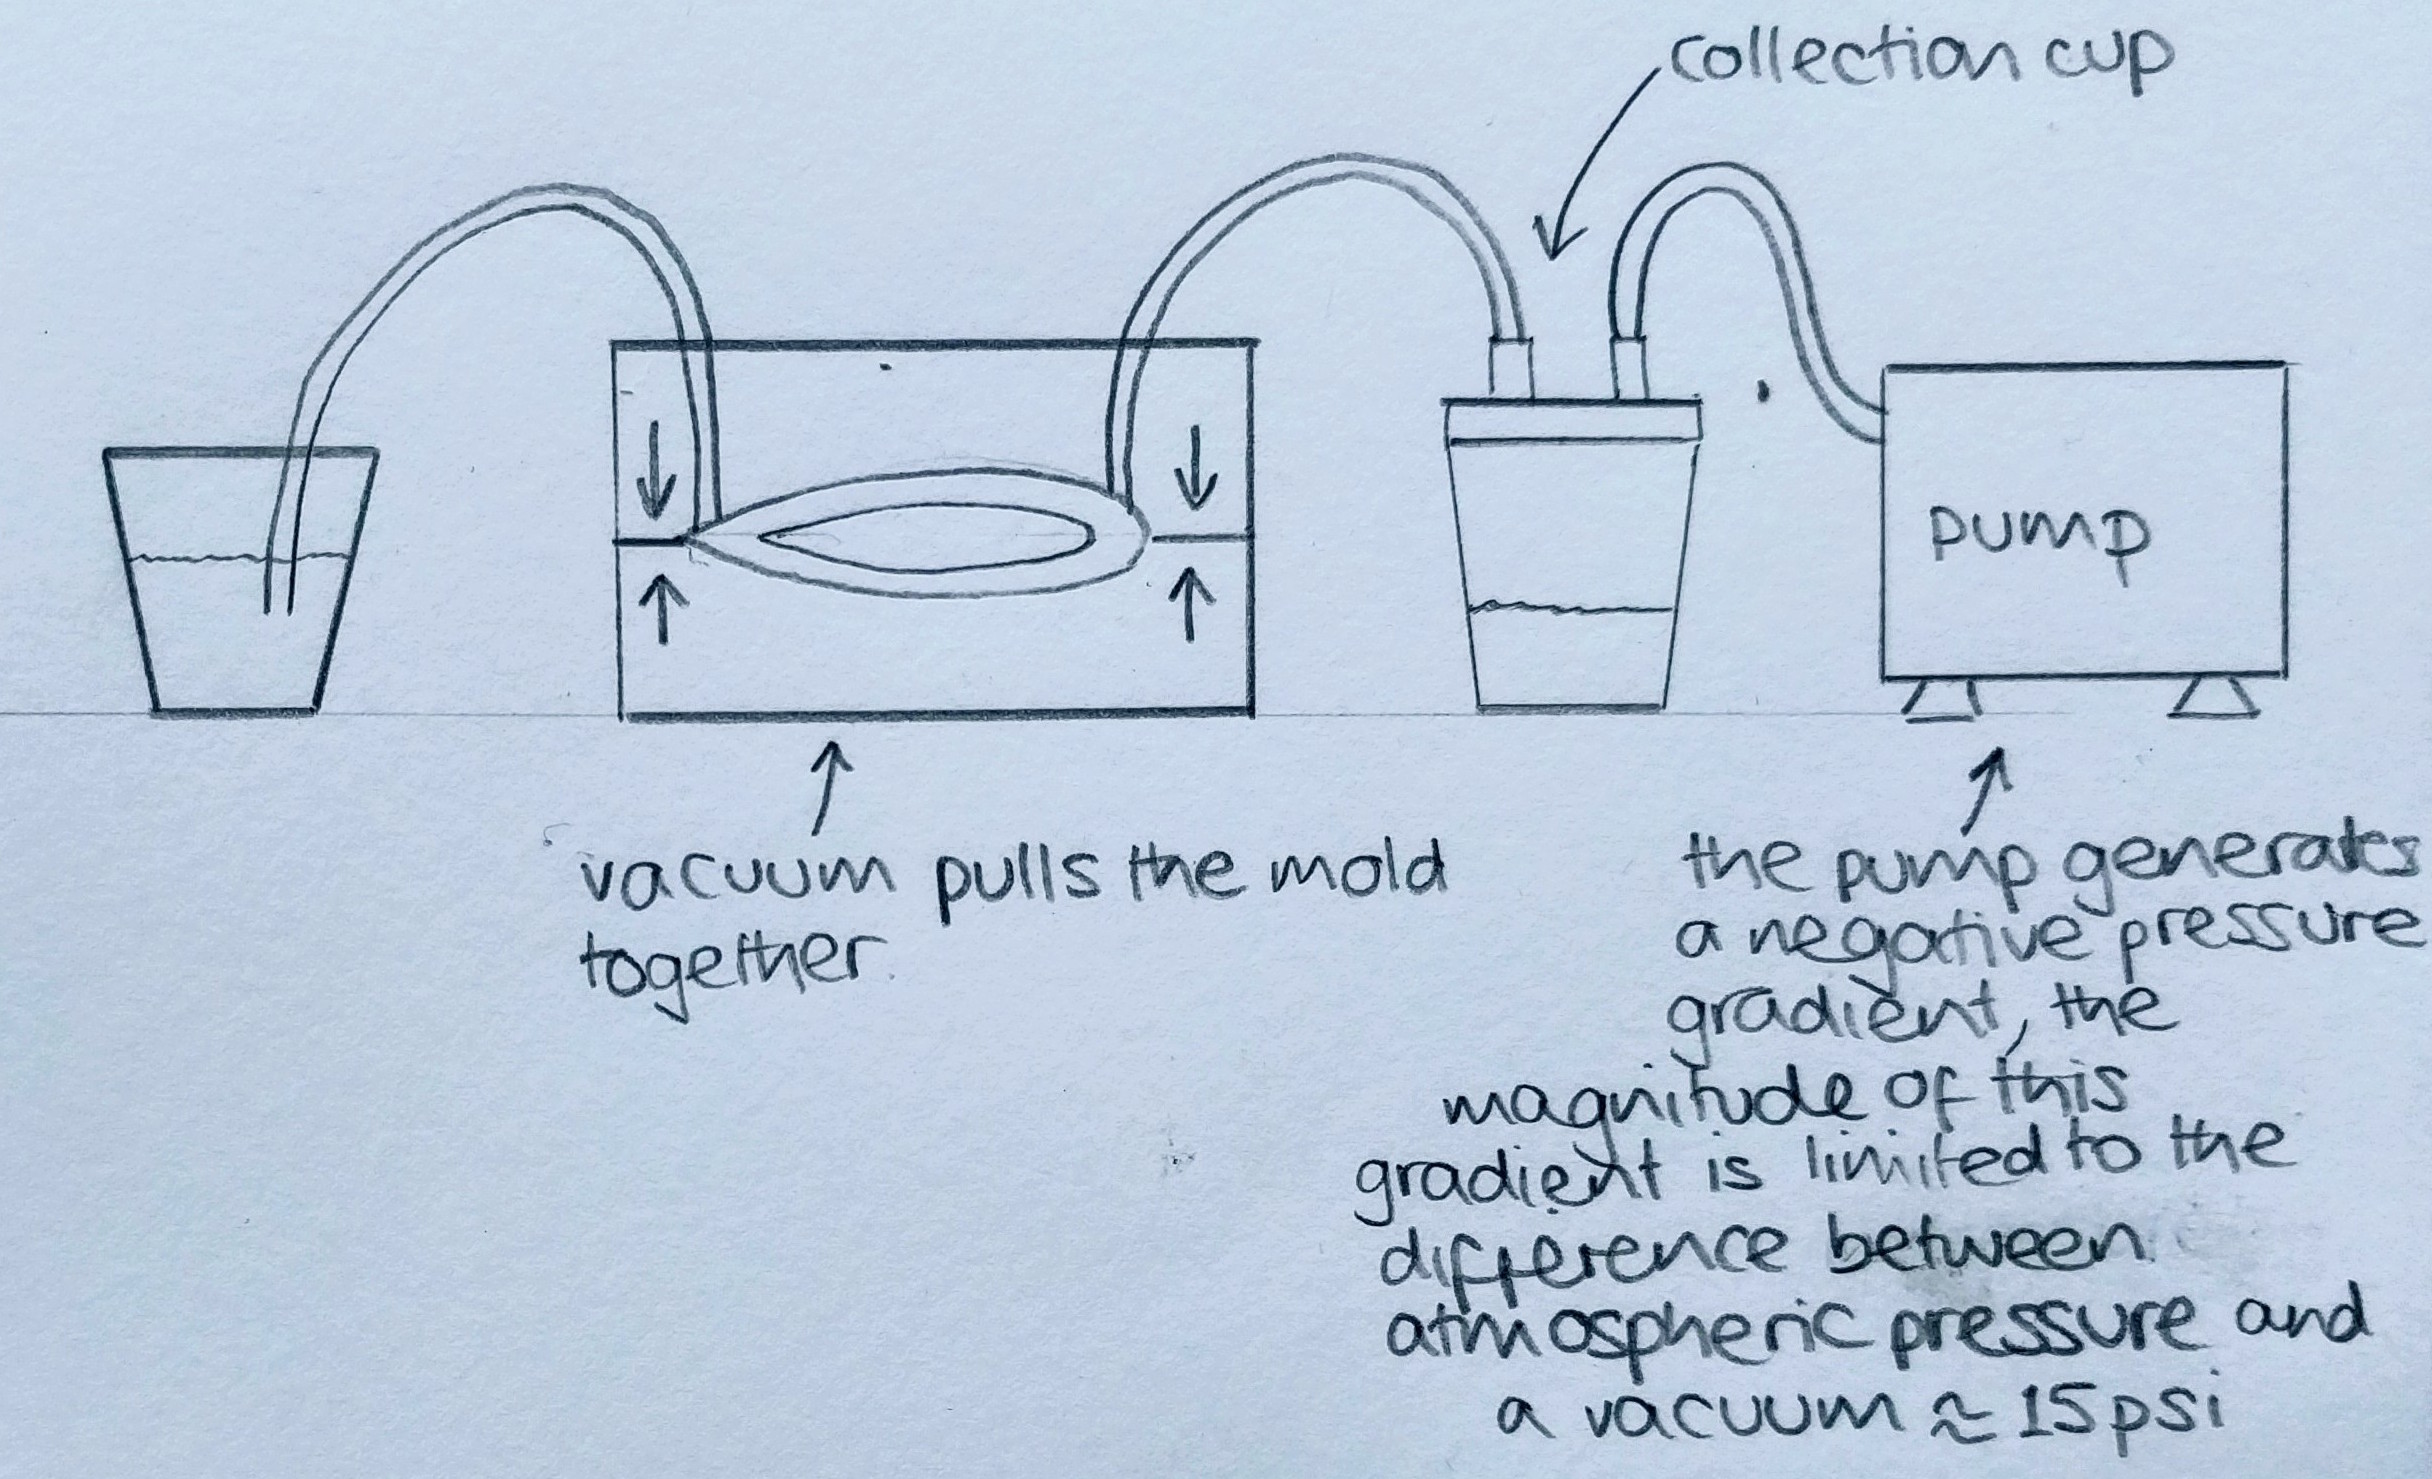
In the workshop we're hoping to run through a demonstration of using VARTM to produce a propellor. In preparation for this we tried designing and fabricating the mold, as detailed below.
The propellor was designed using Fusion 360 with help from this tutorial. This tutorial provided a guide for projecting a complex partingline. The video below shows a snippet of how we used the Patch workspace in Fusion 360 to project edges of a part to create a parting line.
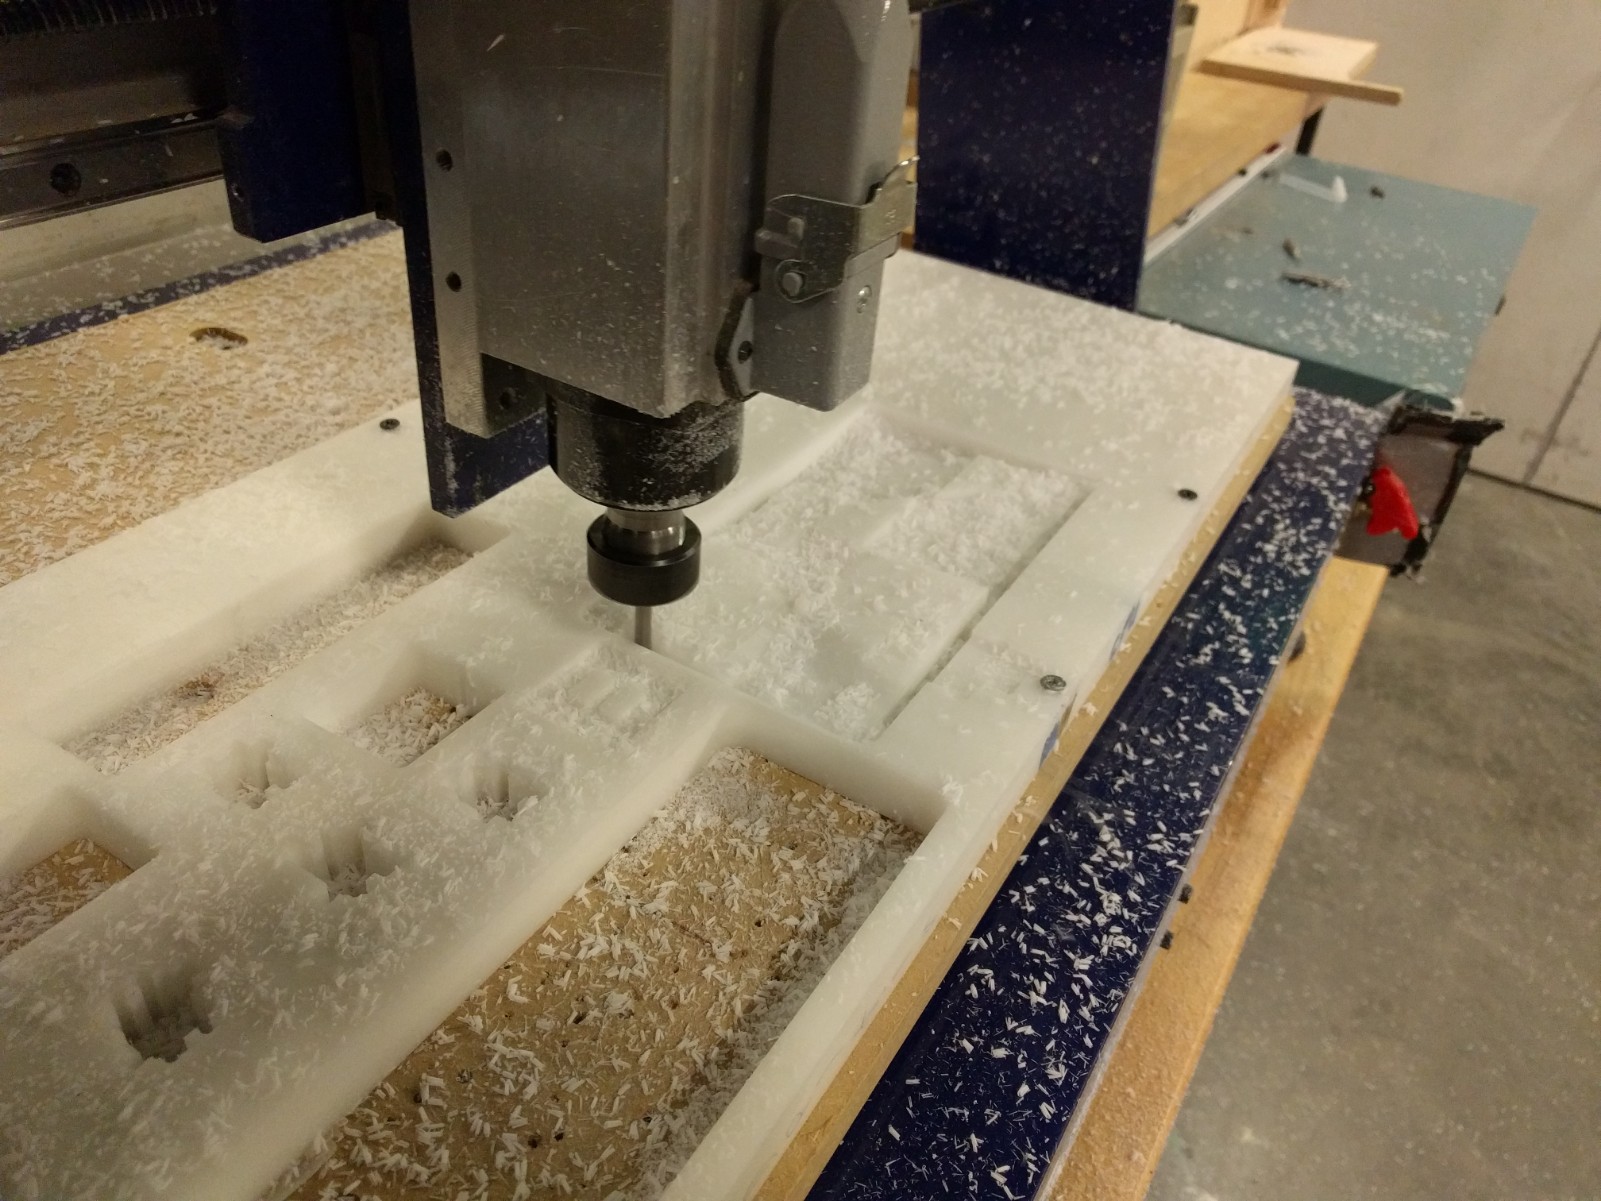
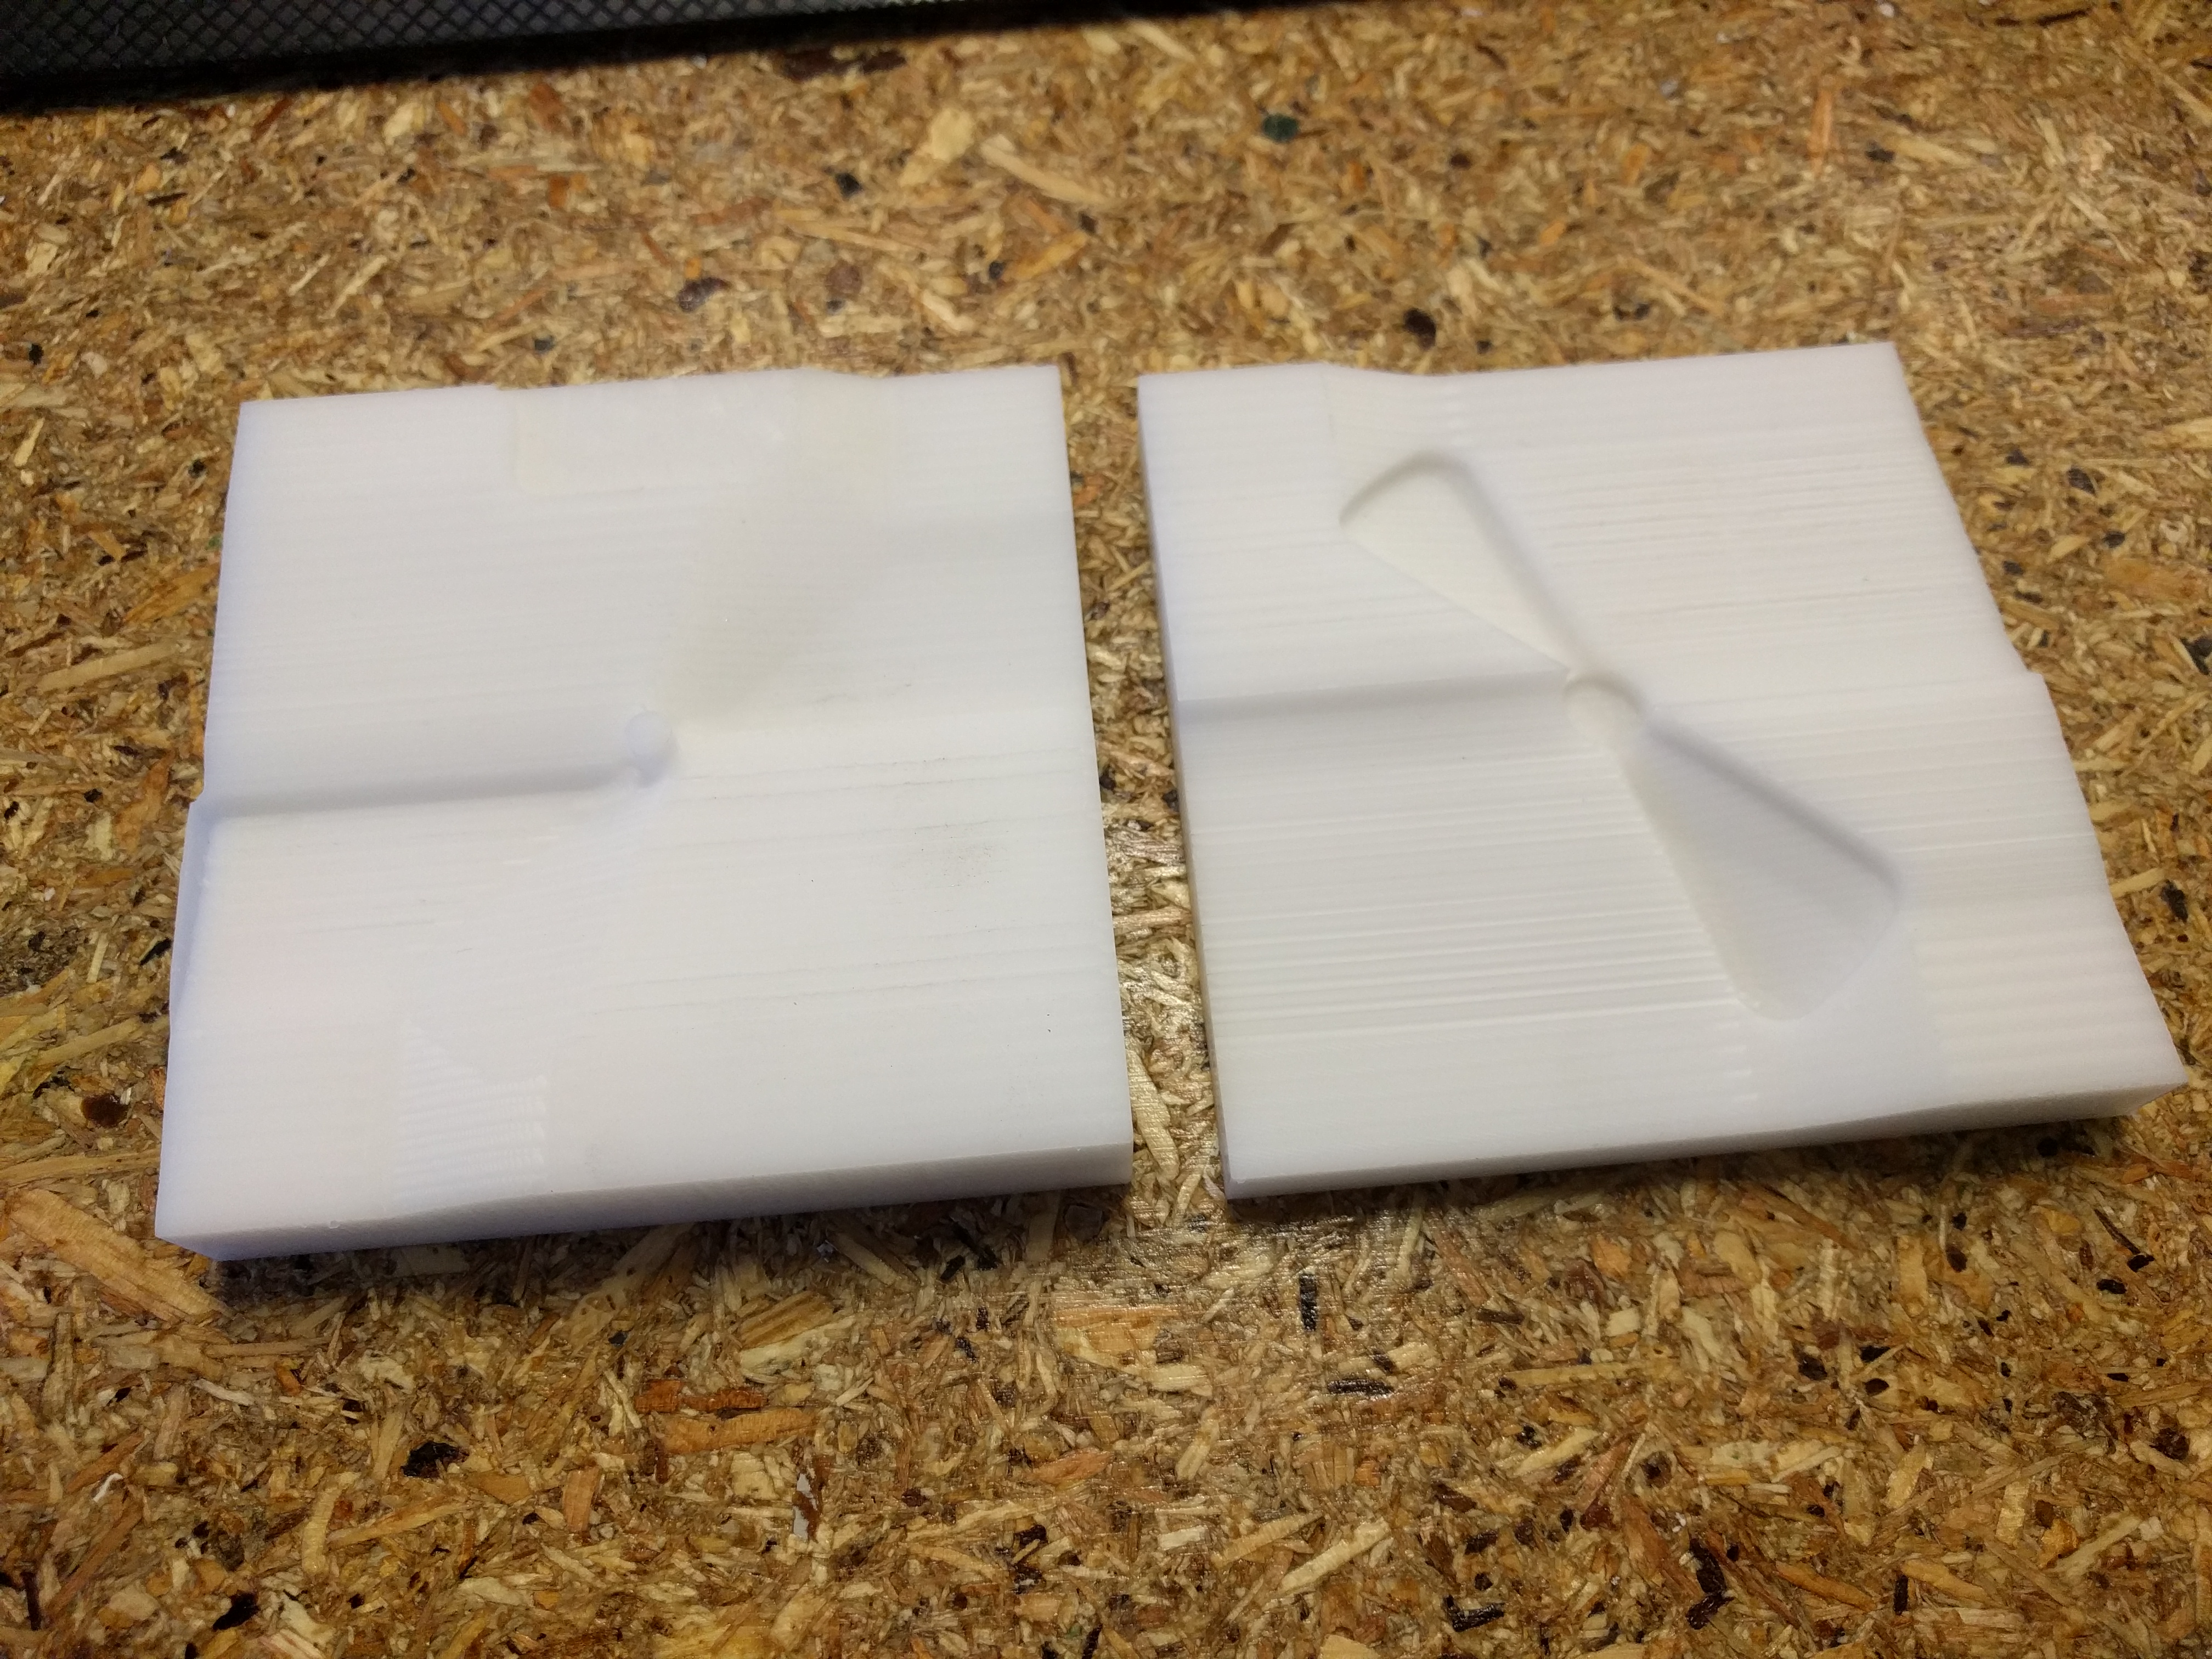
The mold was milled from Delrin, during the workshop we drilled holes for tubing to draw the vacuum through.
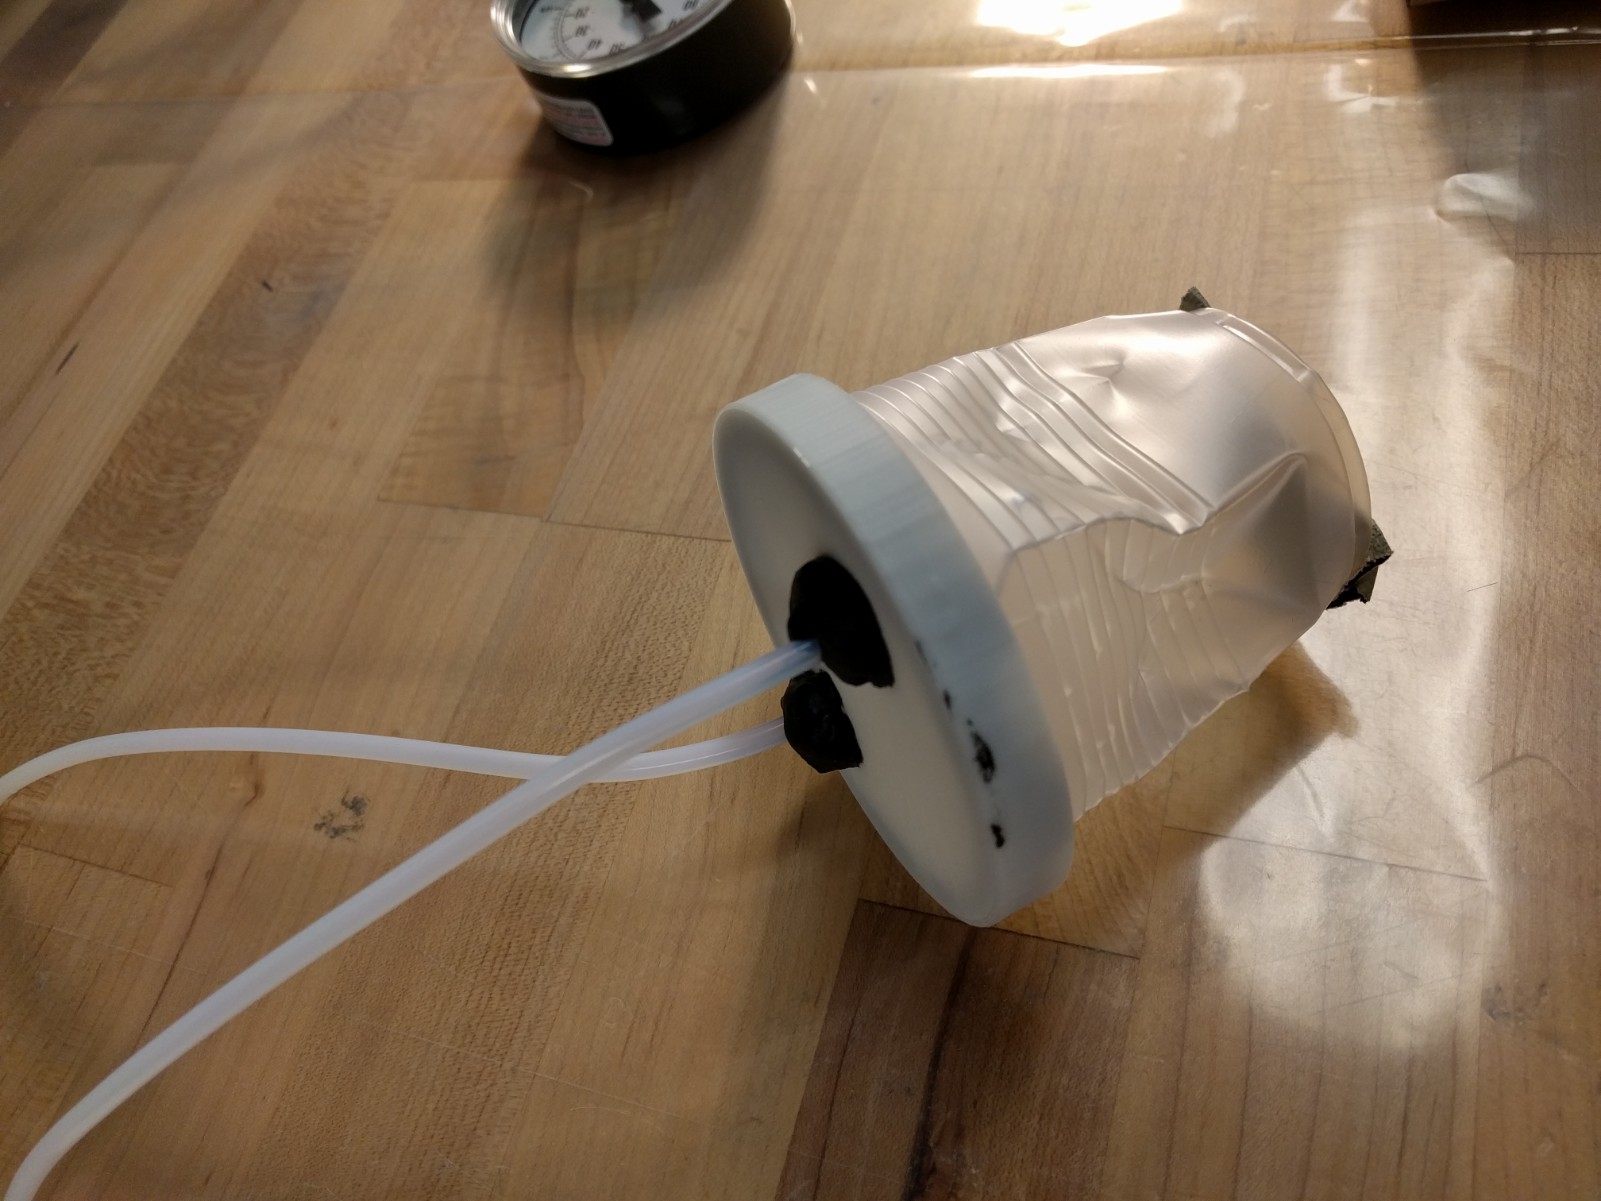
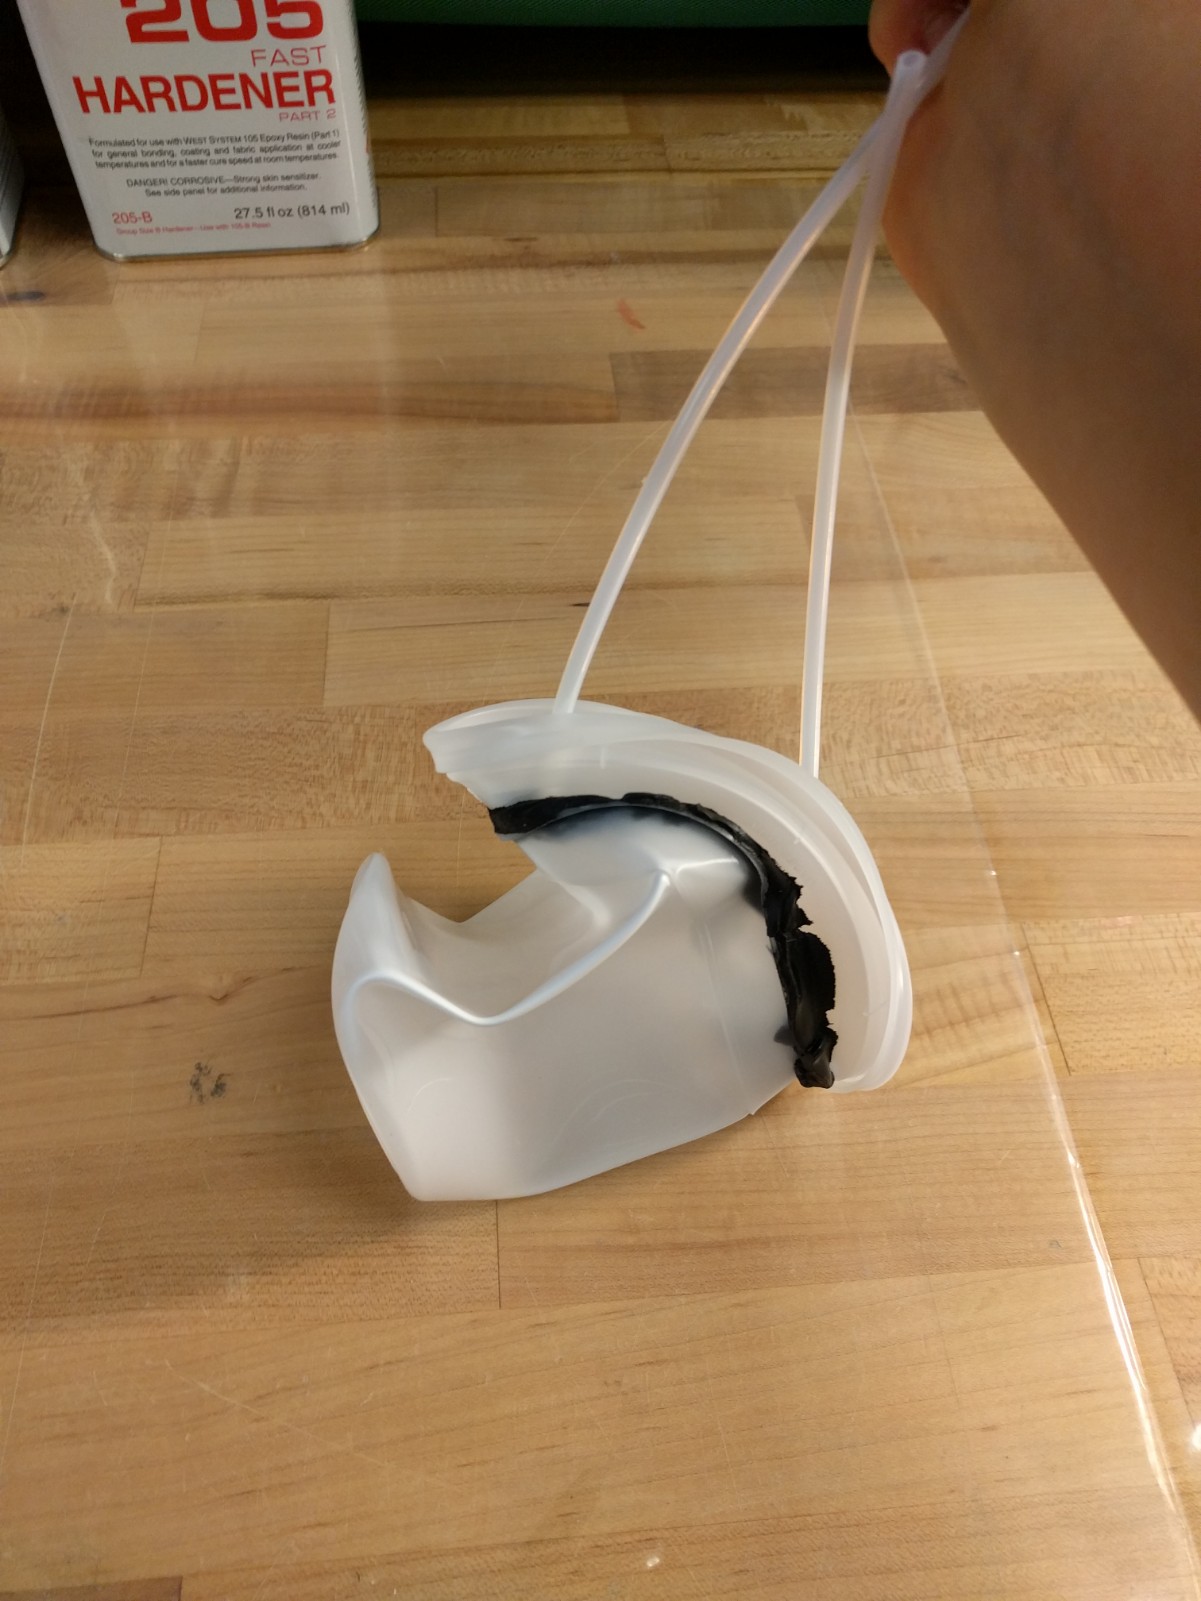
When putting together the different components of VARTM setup, I had trouble finding a stiff enough vessel for the collection cup. The collection cup needs to be capable of withstanding 15 psi.
Sam helped me come up with a solution using a Mason jar, a 3D printed lid and a cork gasket. I did some quick calculations using this website which showed that the Mason jar should be able to withstand 15 psi.
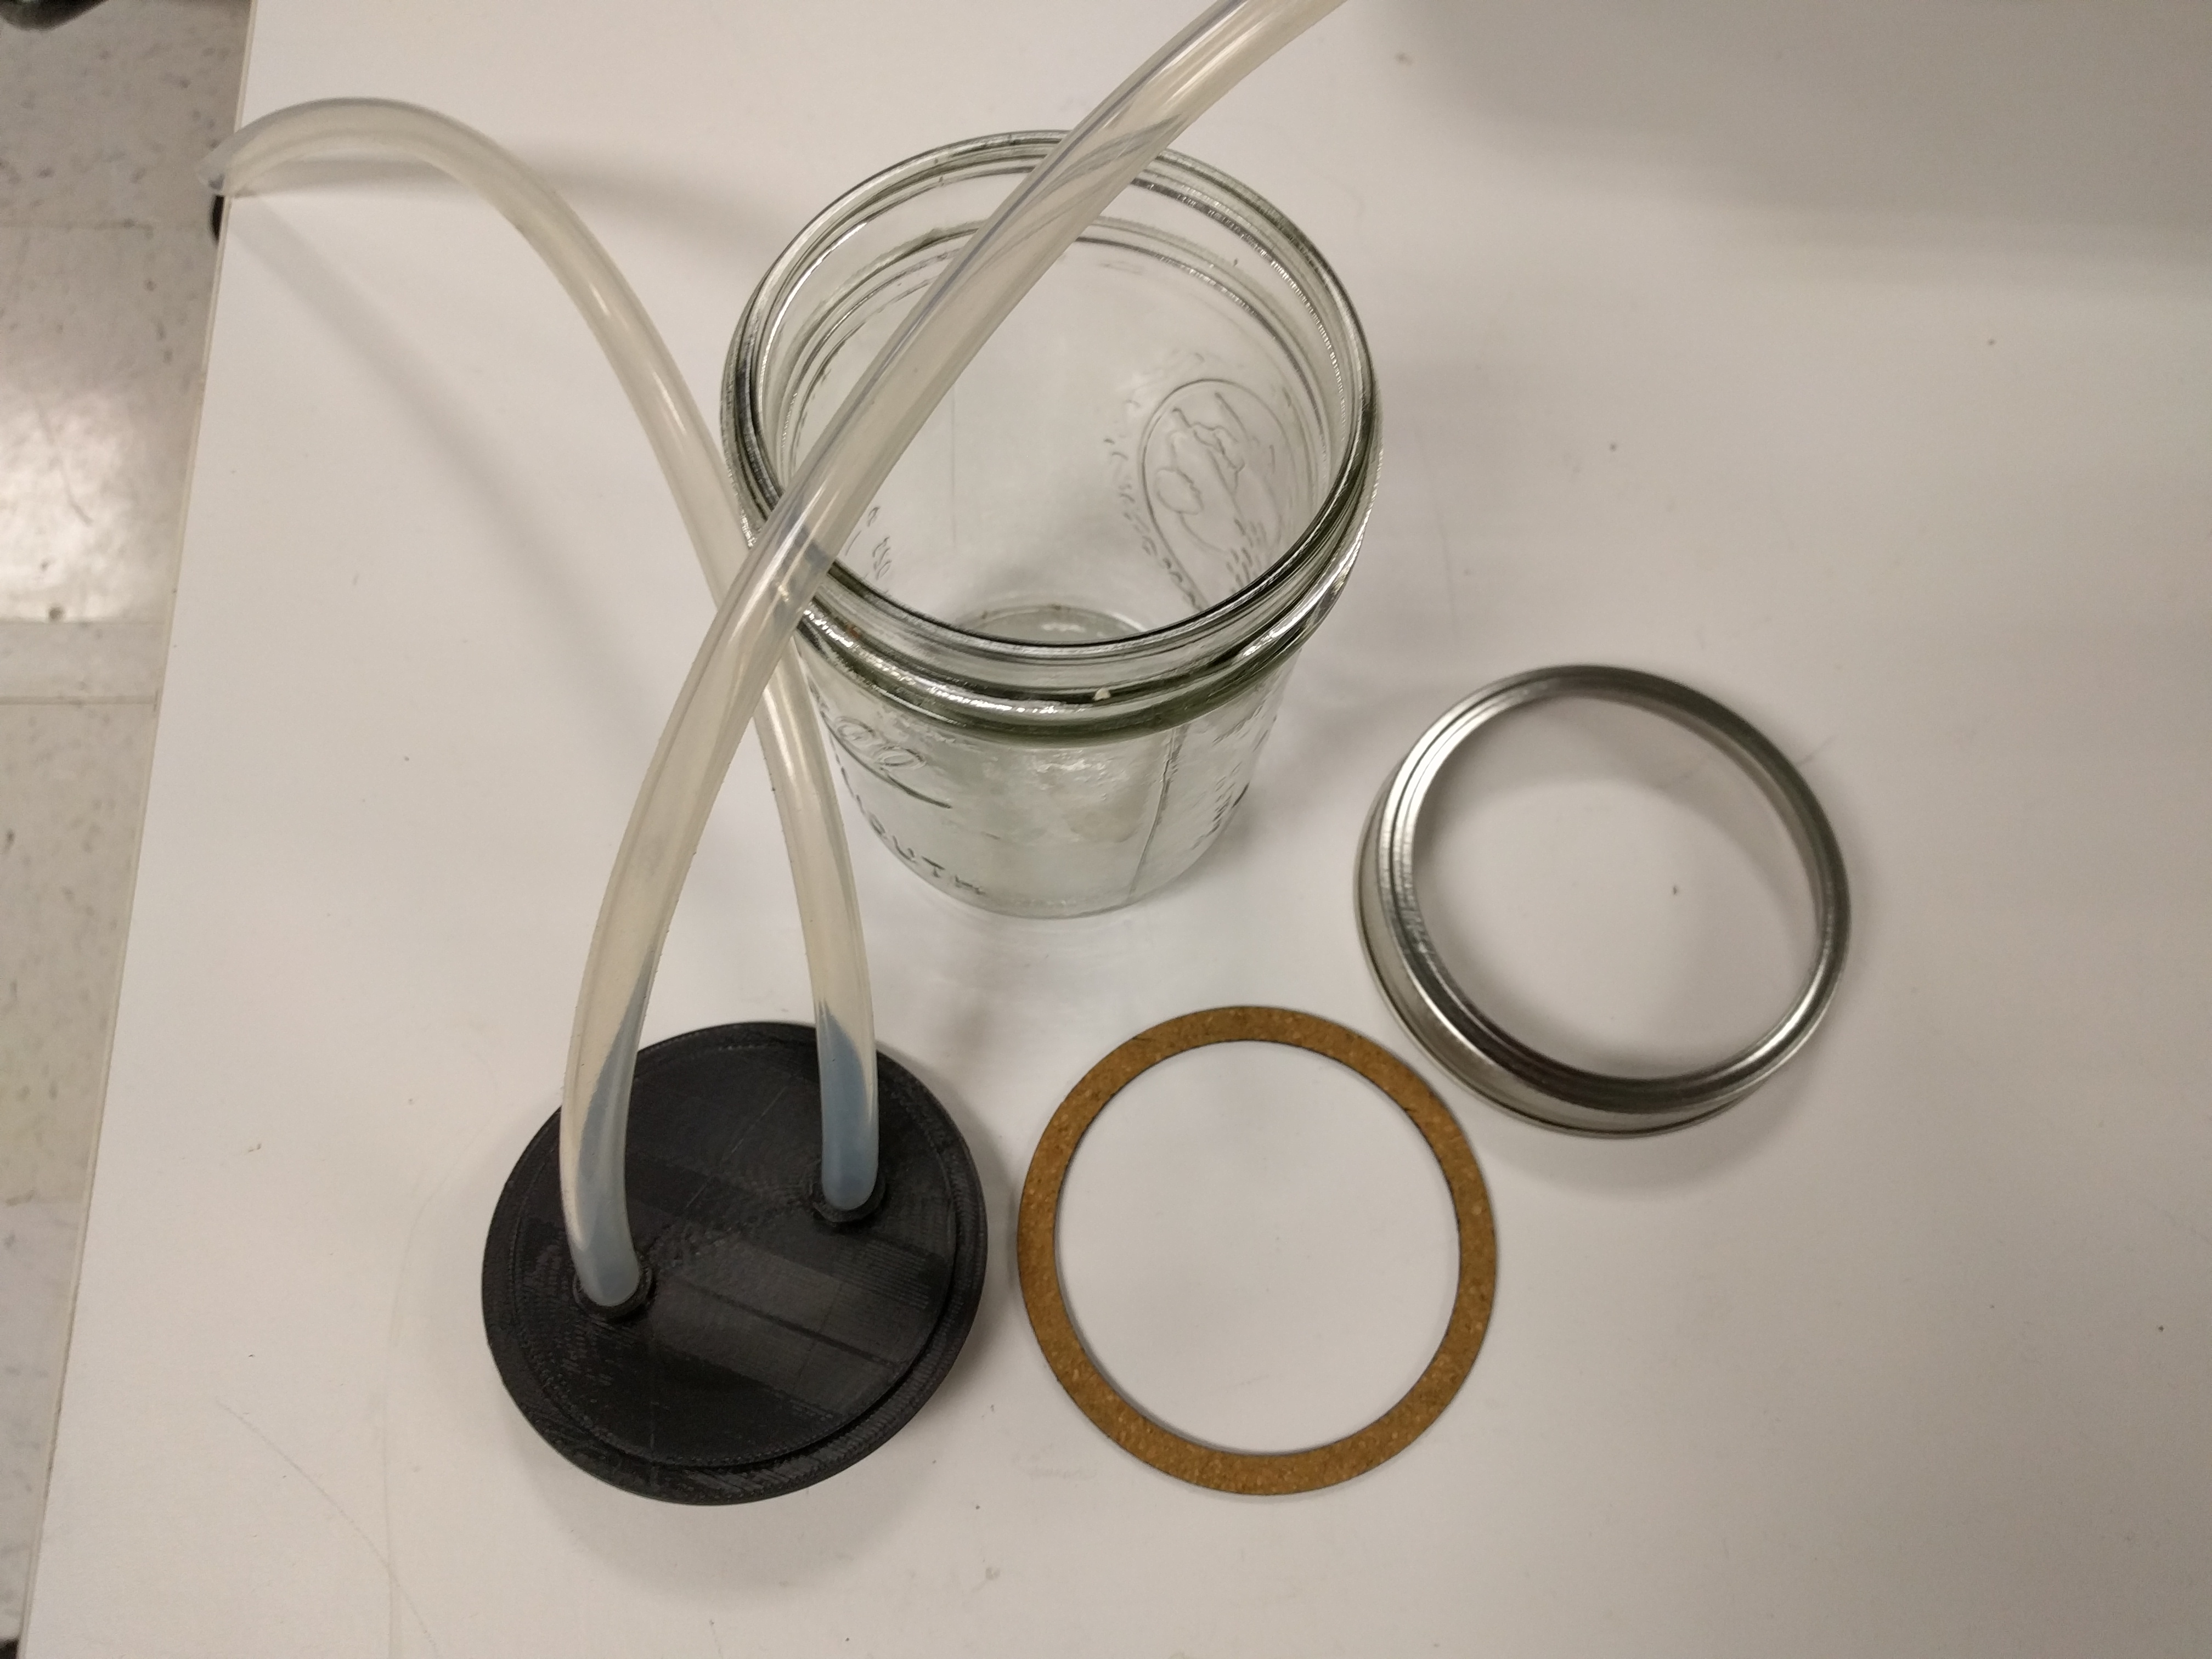
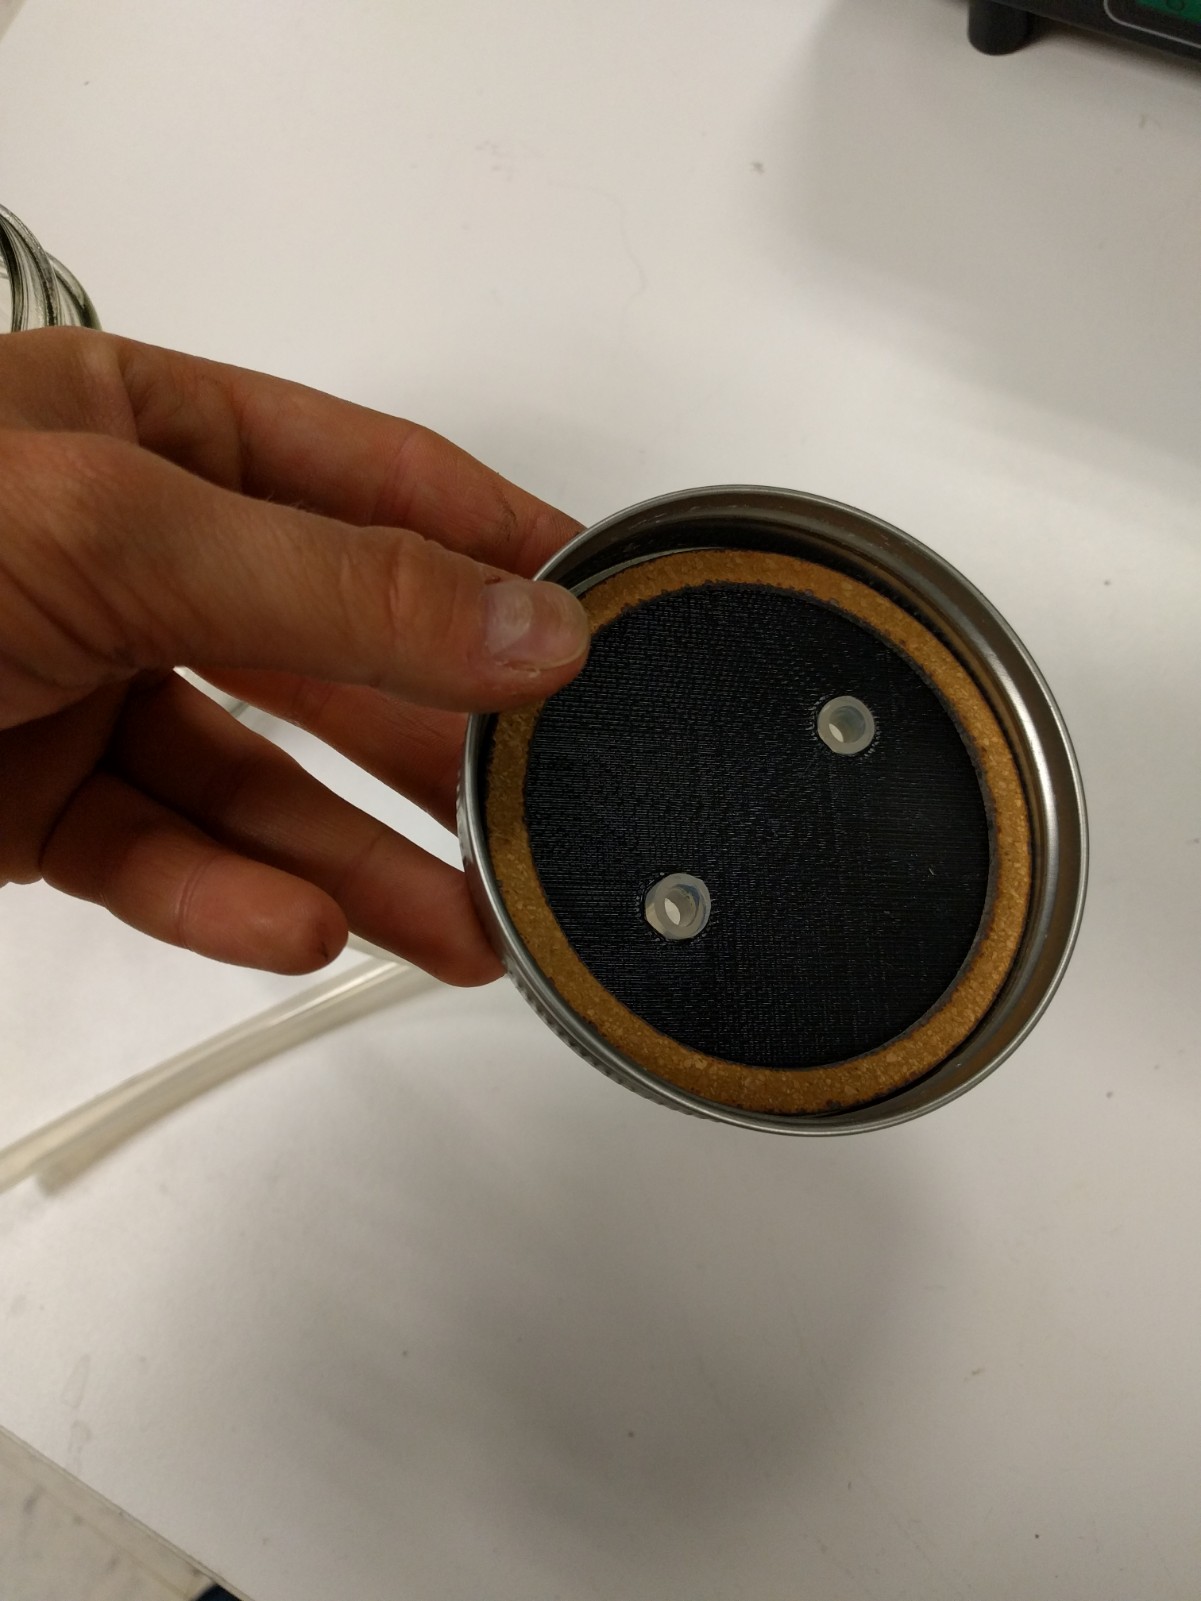
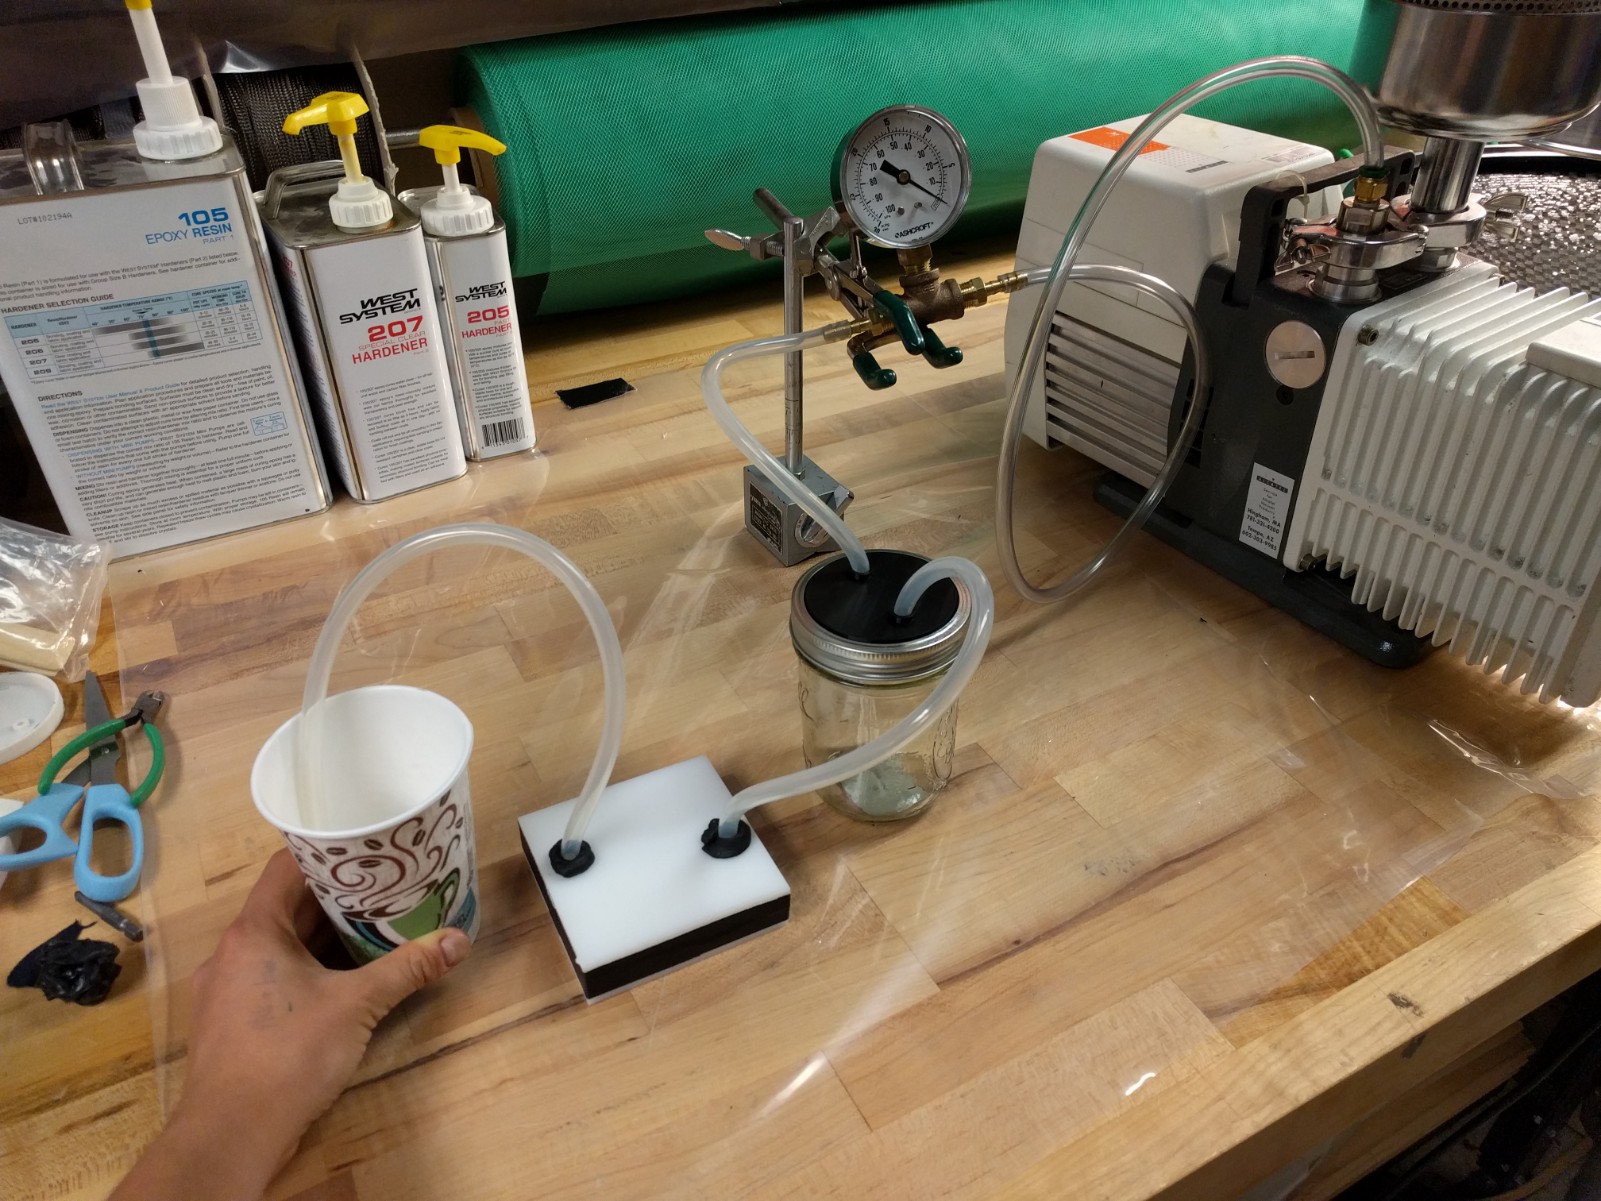
In the final setup I used silicone tubing and threaded it far enough through the adapted mason jar lid that the epoxy didn't come into contact with it. We left the vacuum pump running until enough epoxy had passed through the mold to fill it. Be careful not to leave it on too long or you will introduce air back into the mold. I added mastic tape around the tubing into and out of the mold as well as gaffer tape around the mold parting line to seal it.
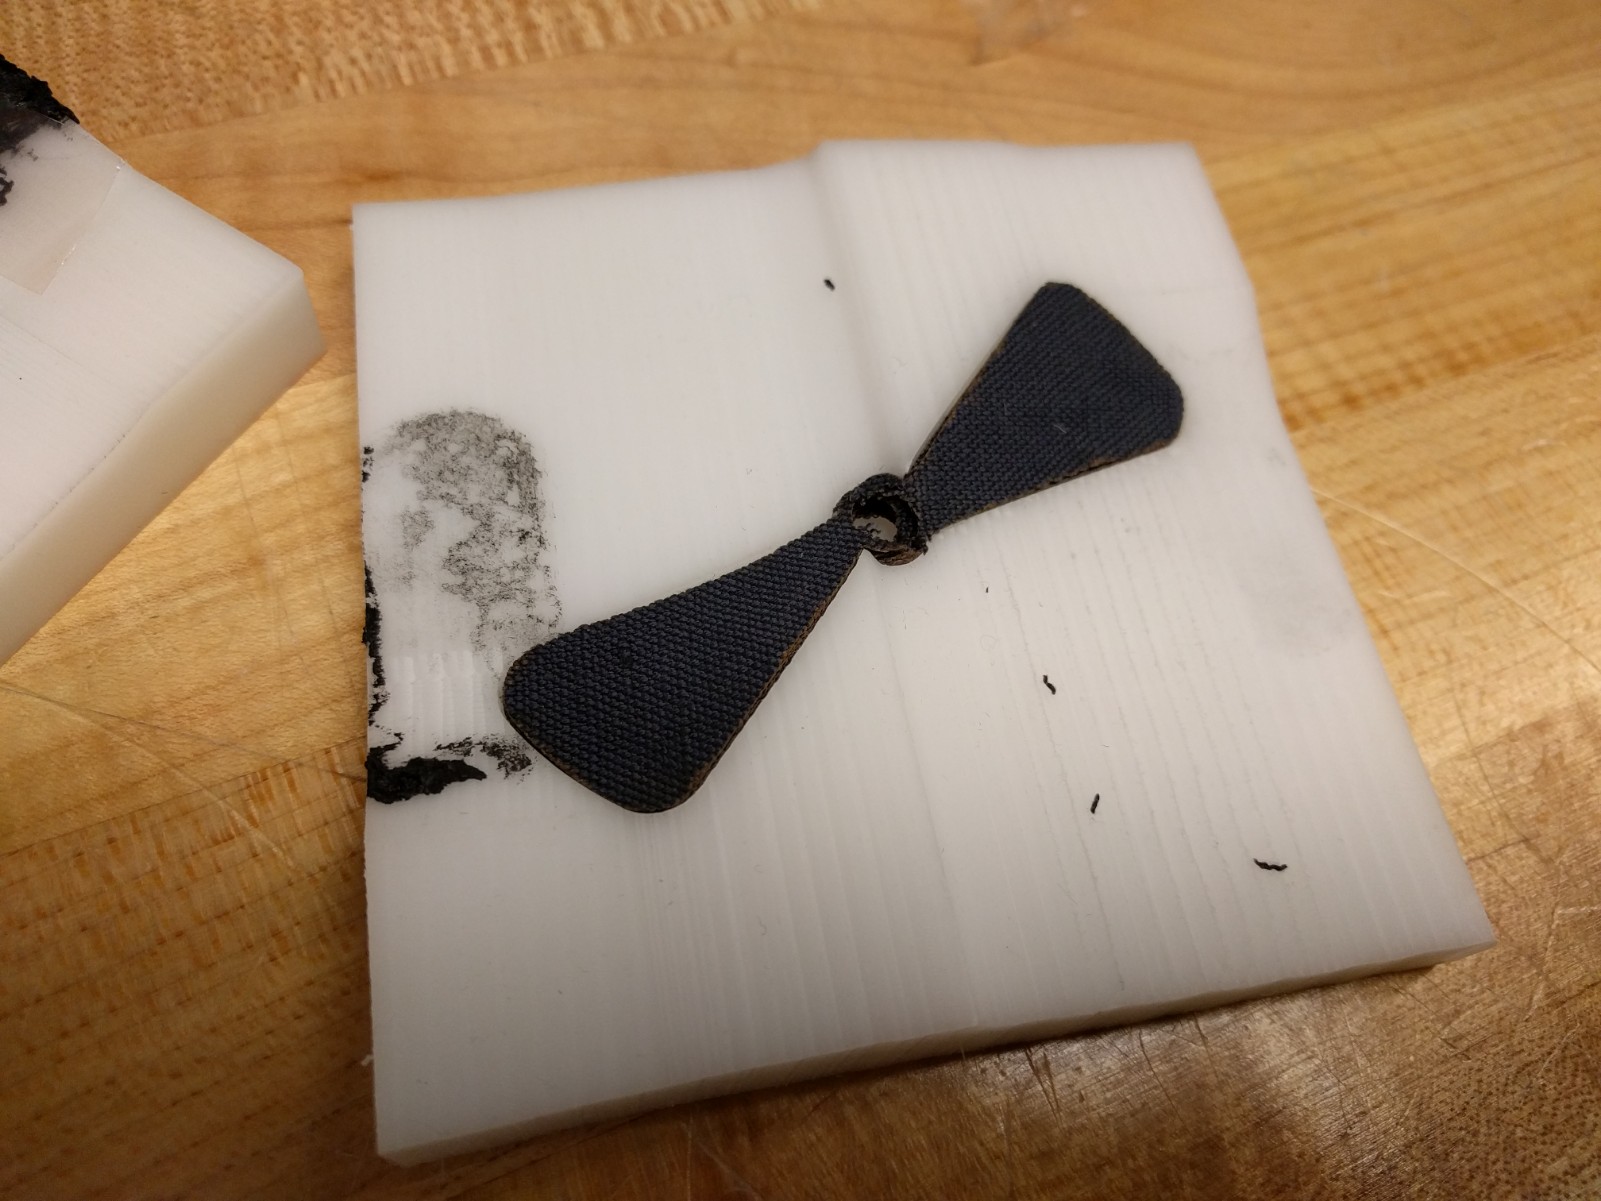
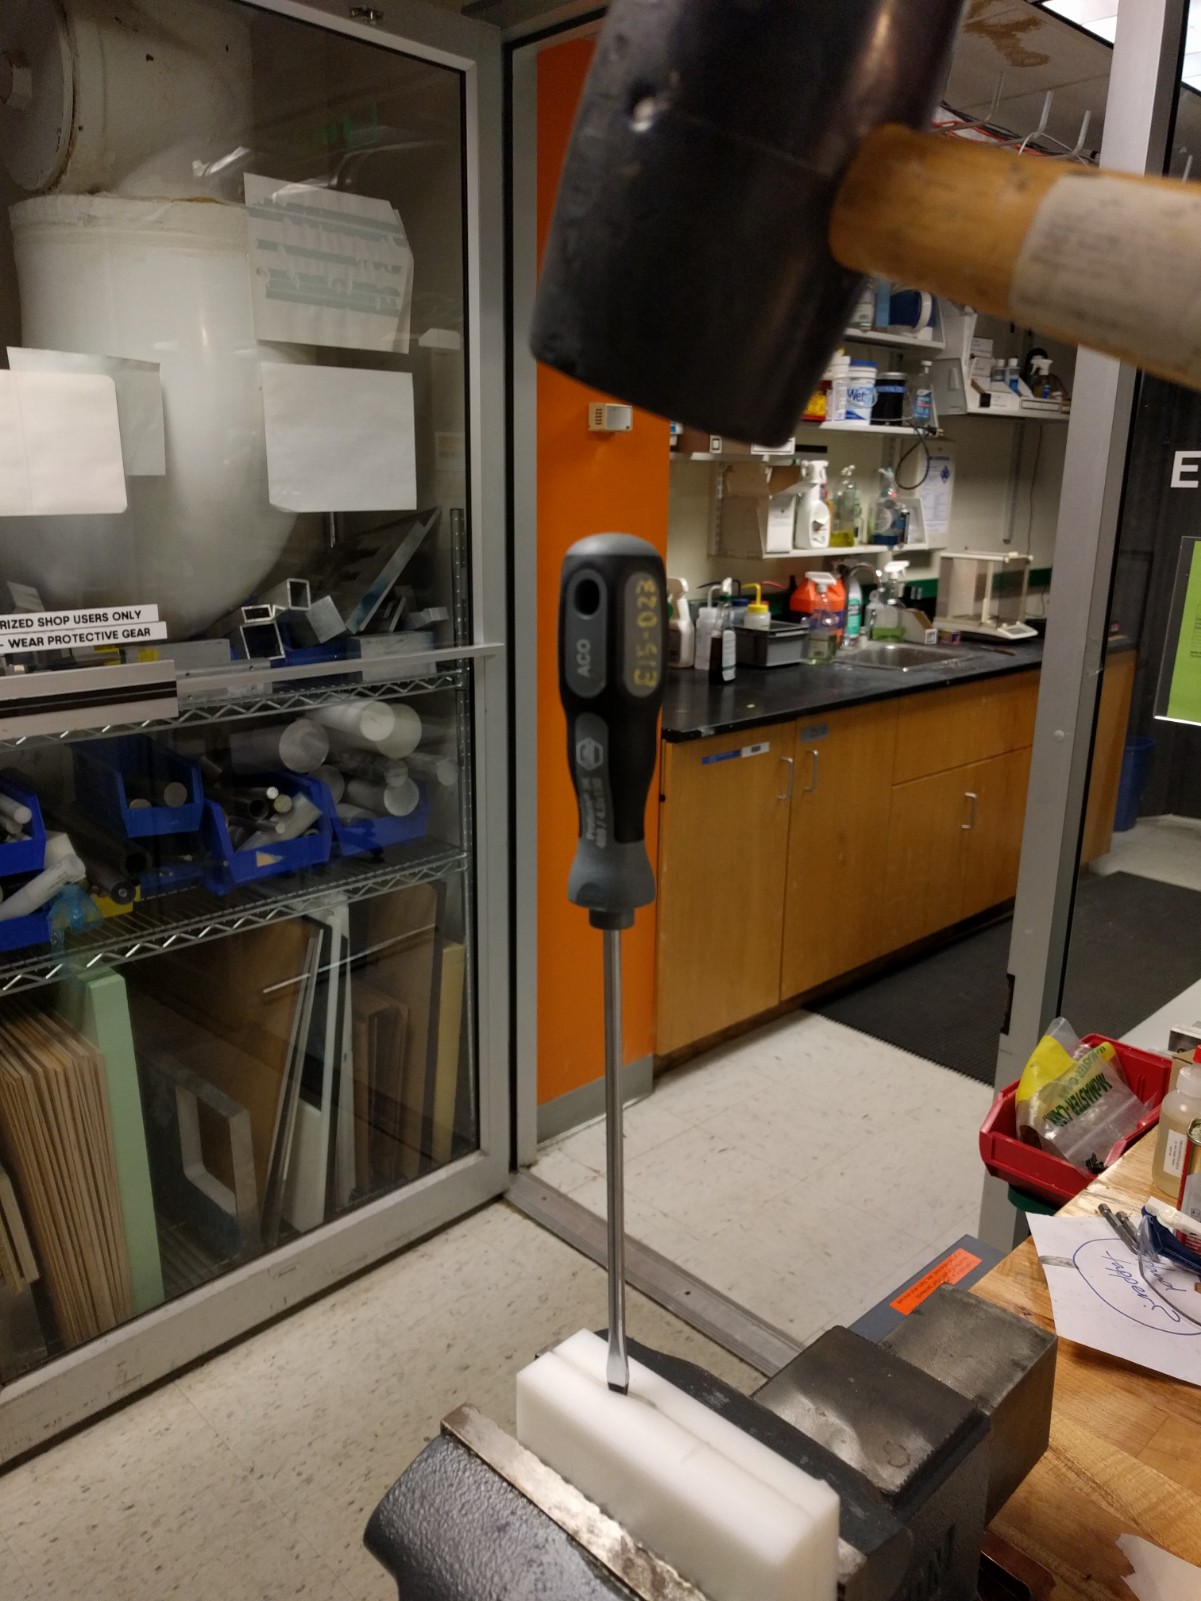
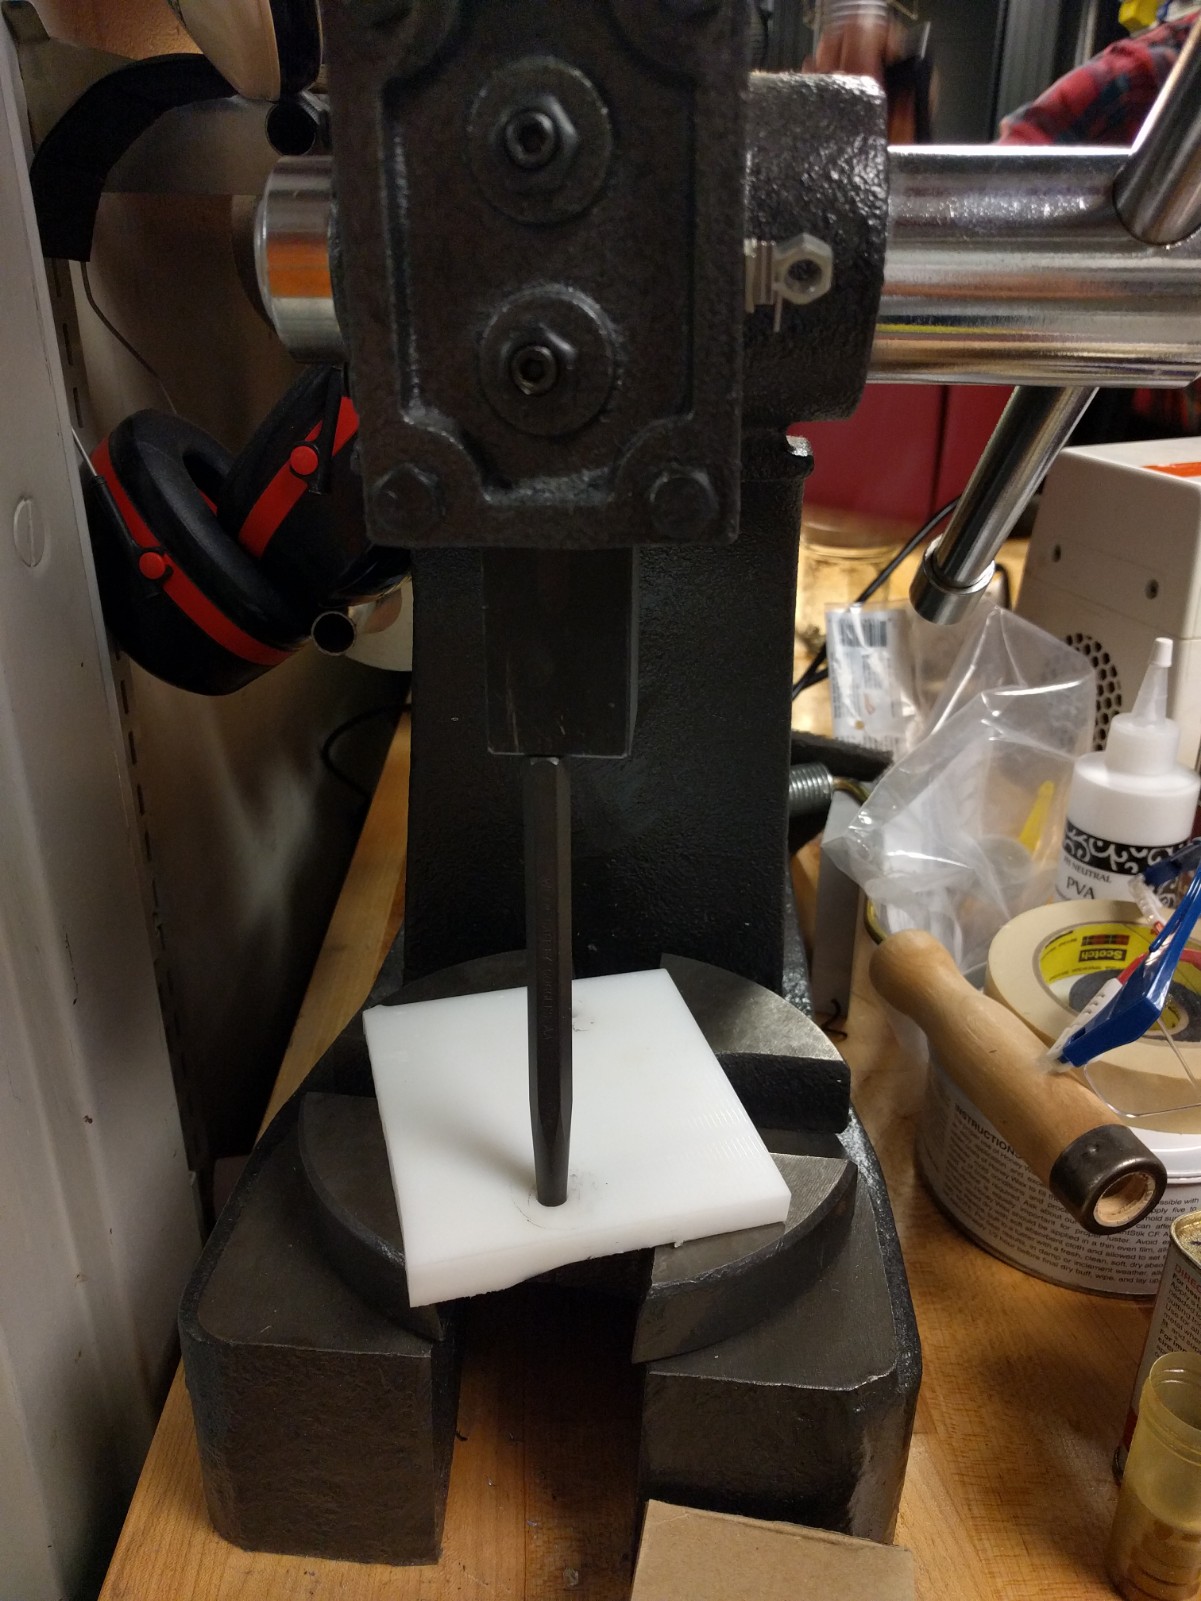
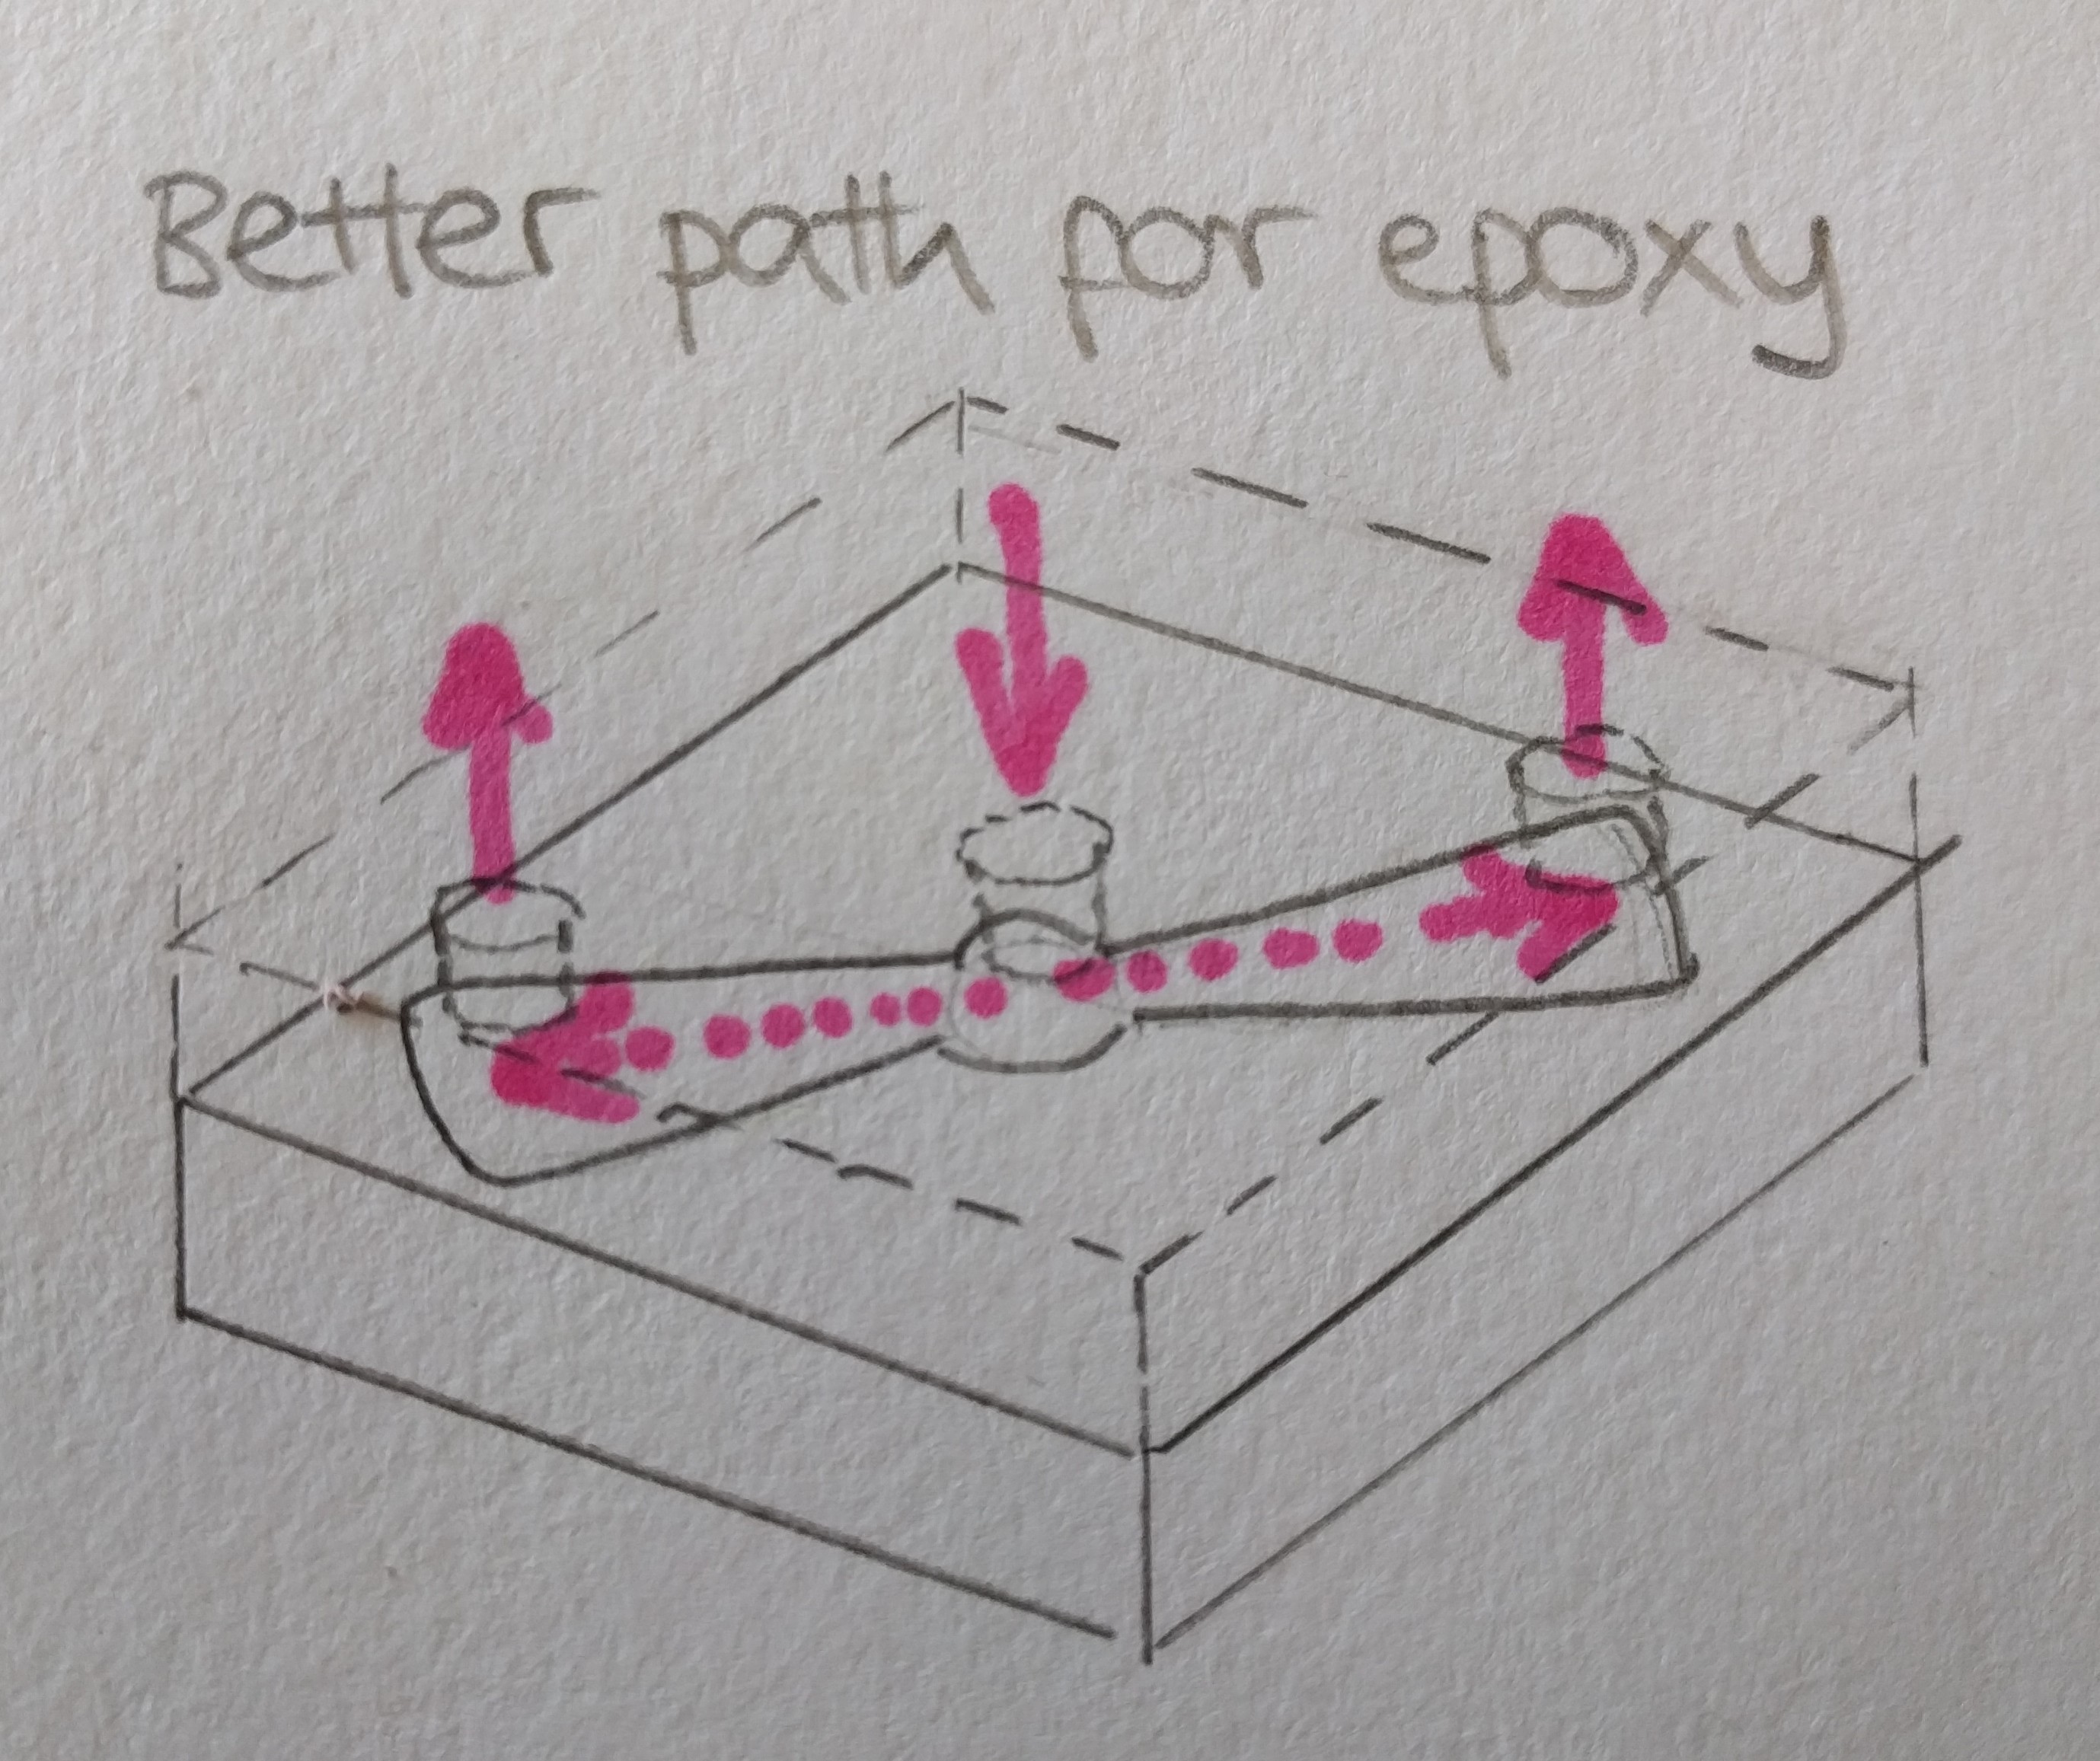
The resulting part wasn't a success but there were lots of lessons learned. I had to use a hammer, screw driving and punch tool to get the part out. Because I hadn't placed an inlet or outlet port in the center of the part it was practically impossible to remove this section, which meant that the blades of the propellor snapped off.
In addition, I hadn't created a full seal around the part meaning that a thin layer of epoxy leaked out to the edges of the mold. To prevent this from happening as much it would be good to have an additional finishing pass, clamp the mould, include more exact registration features and if necessary, mill the mold from aluminium.
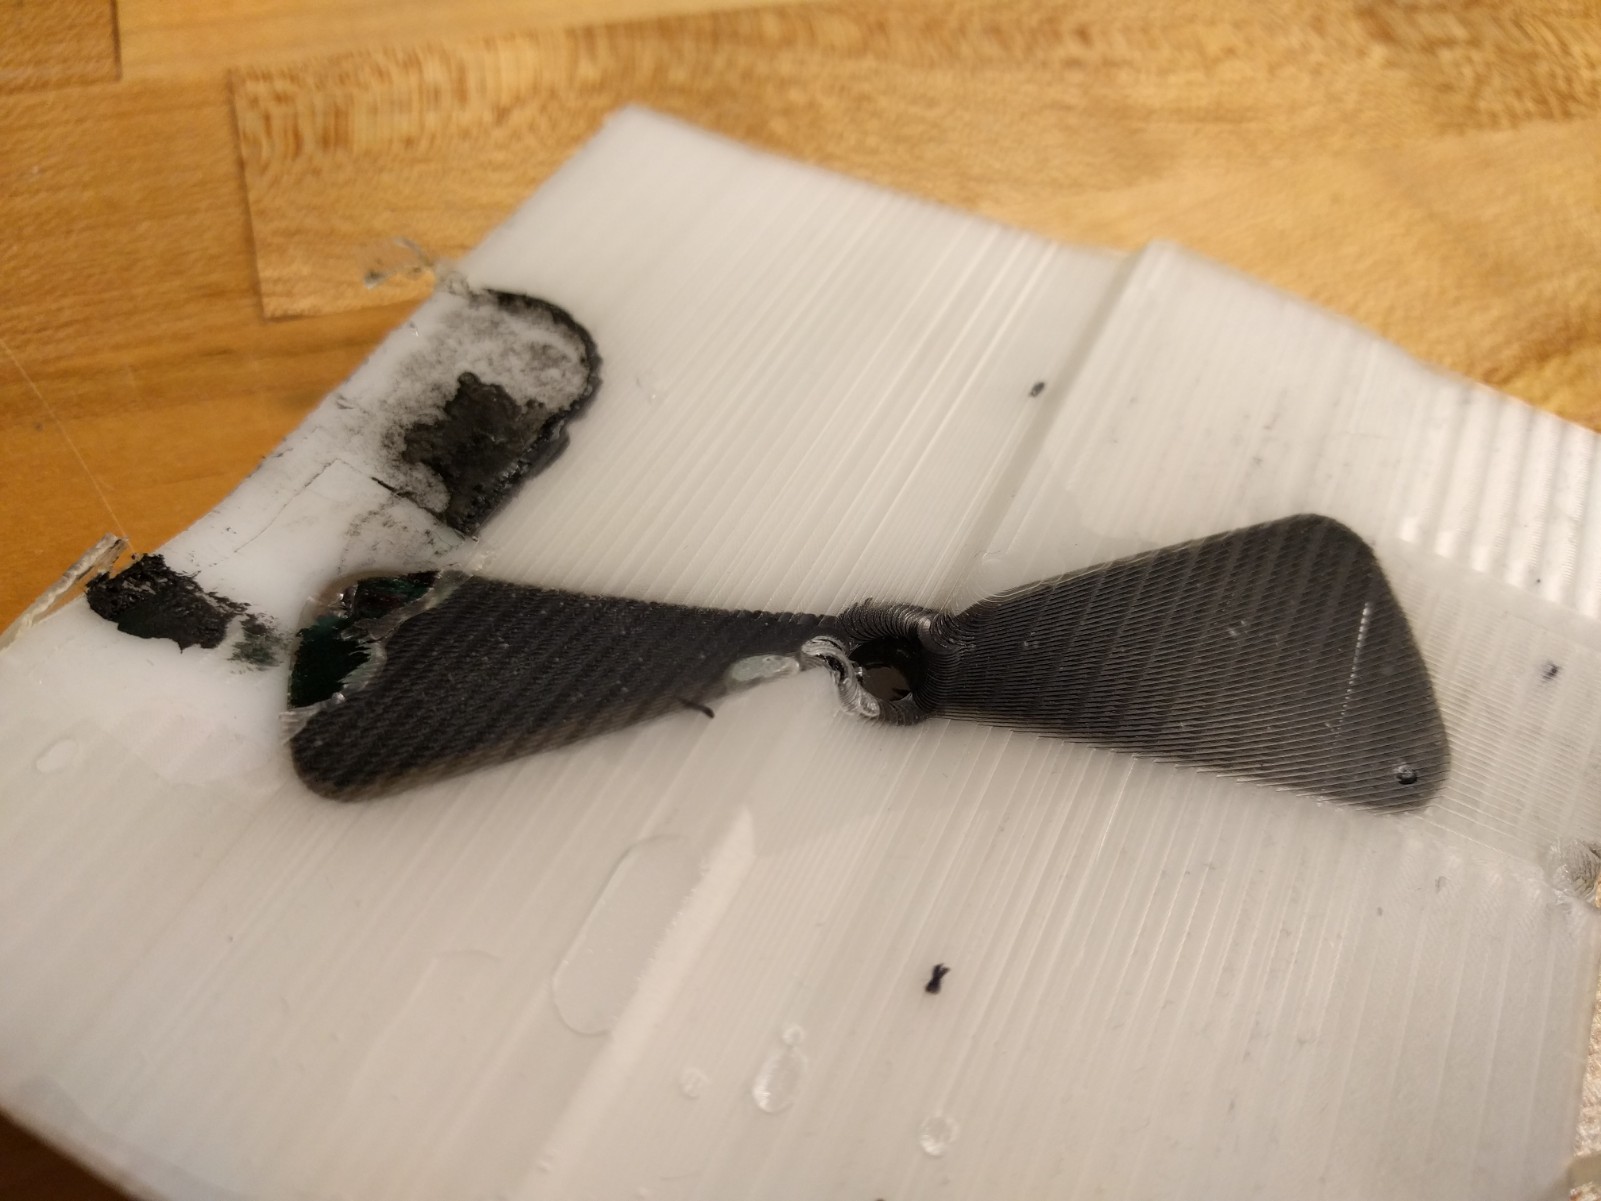
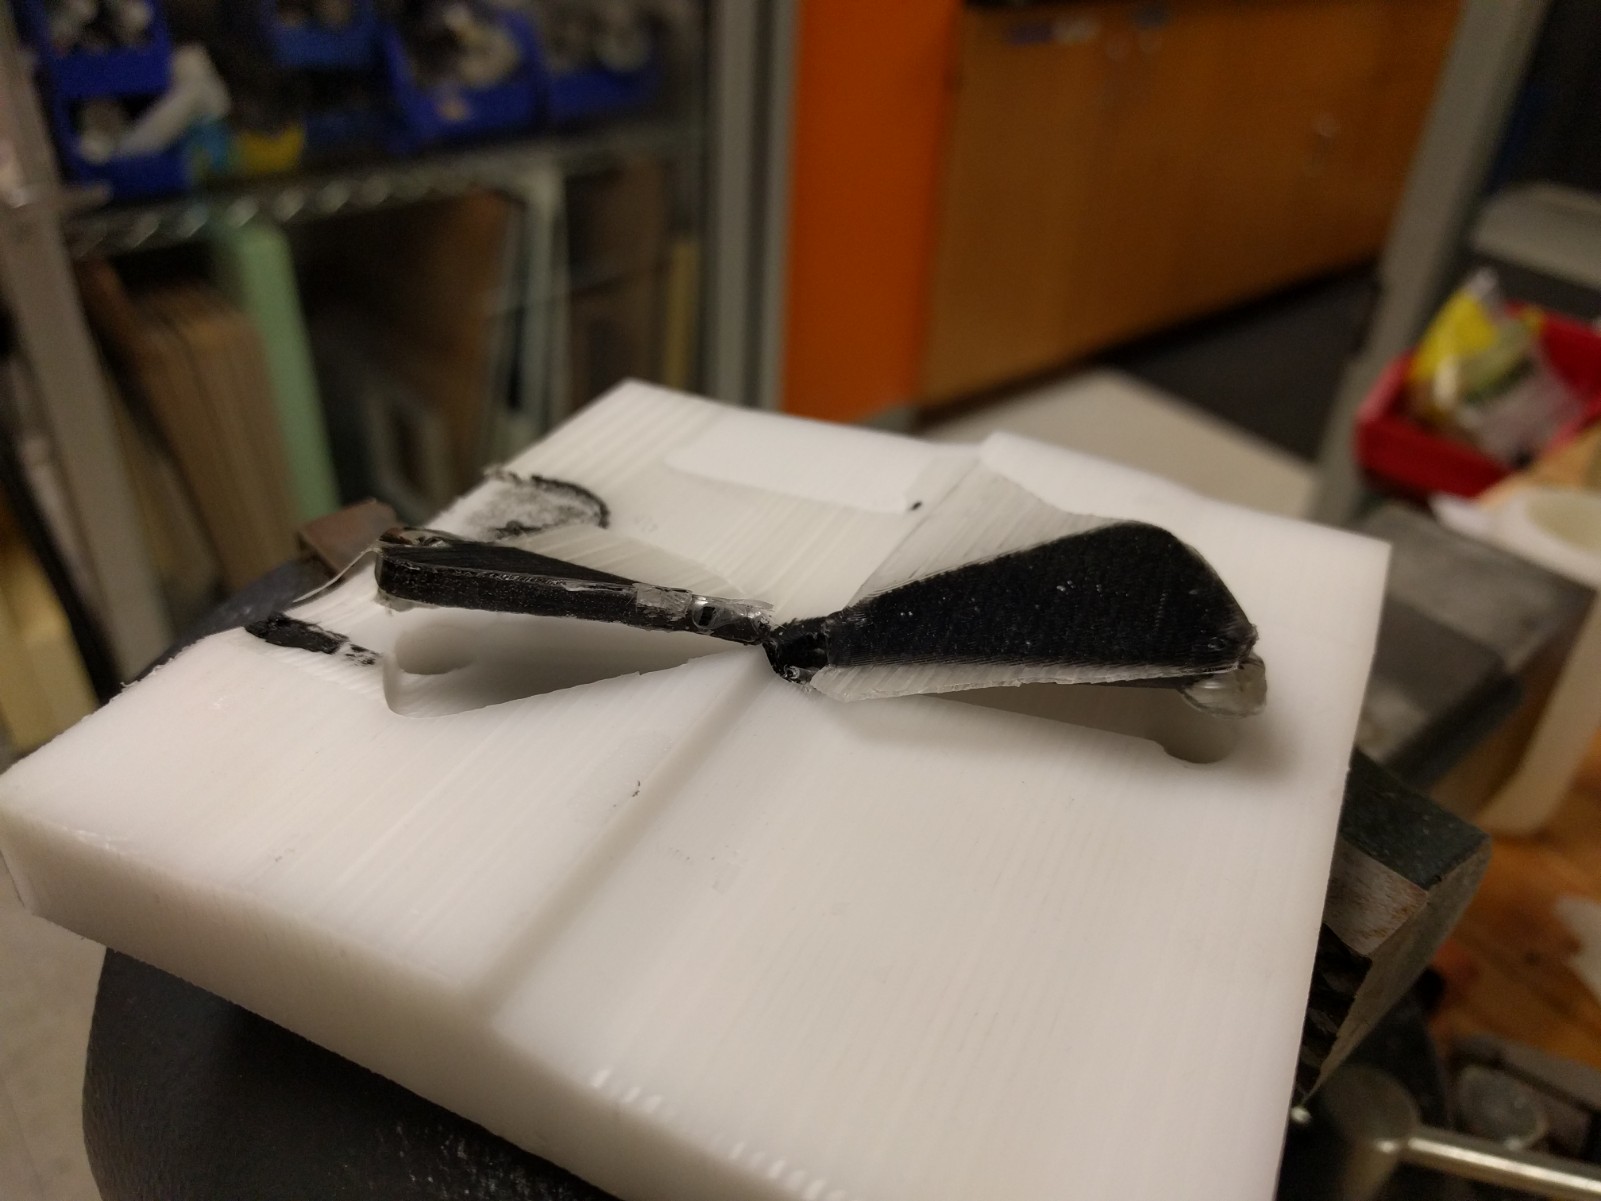
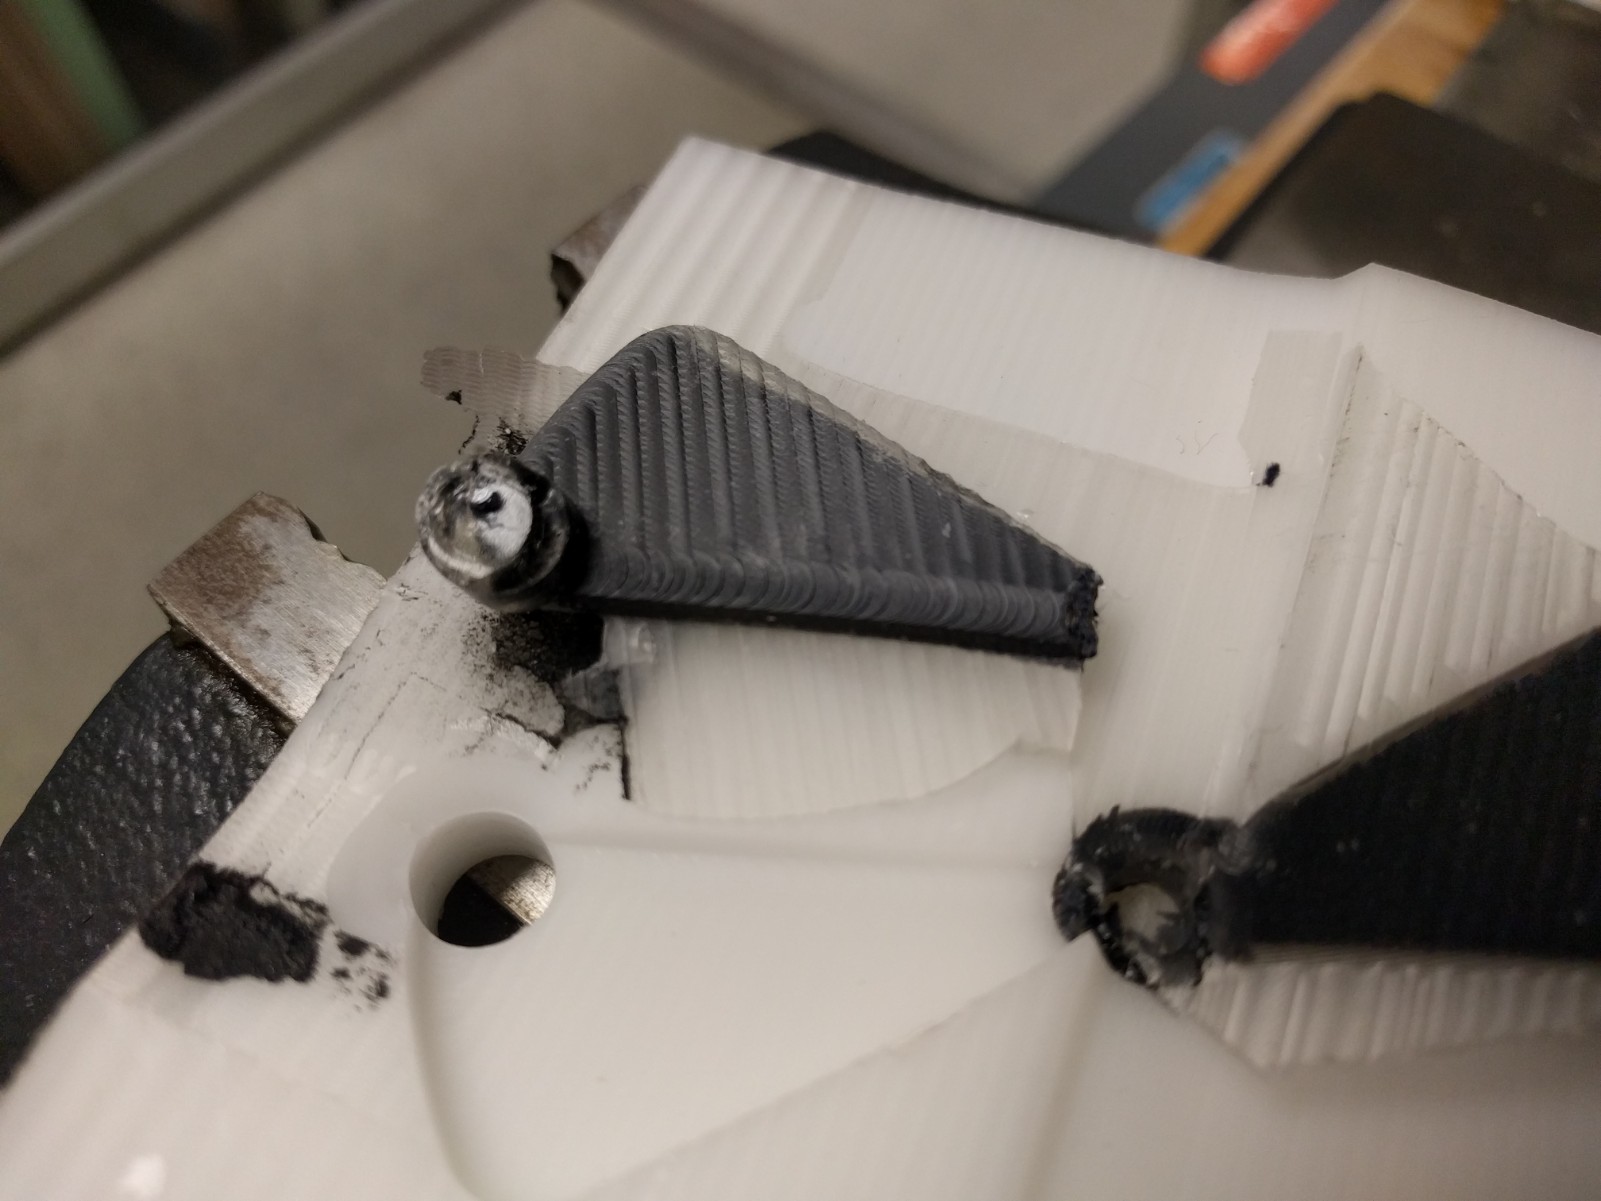
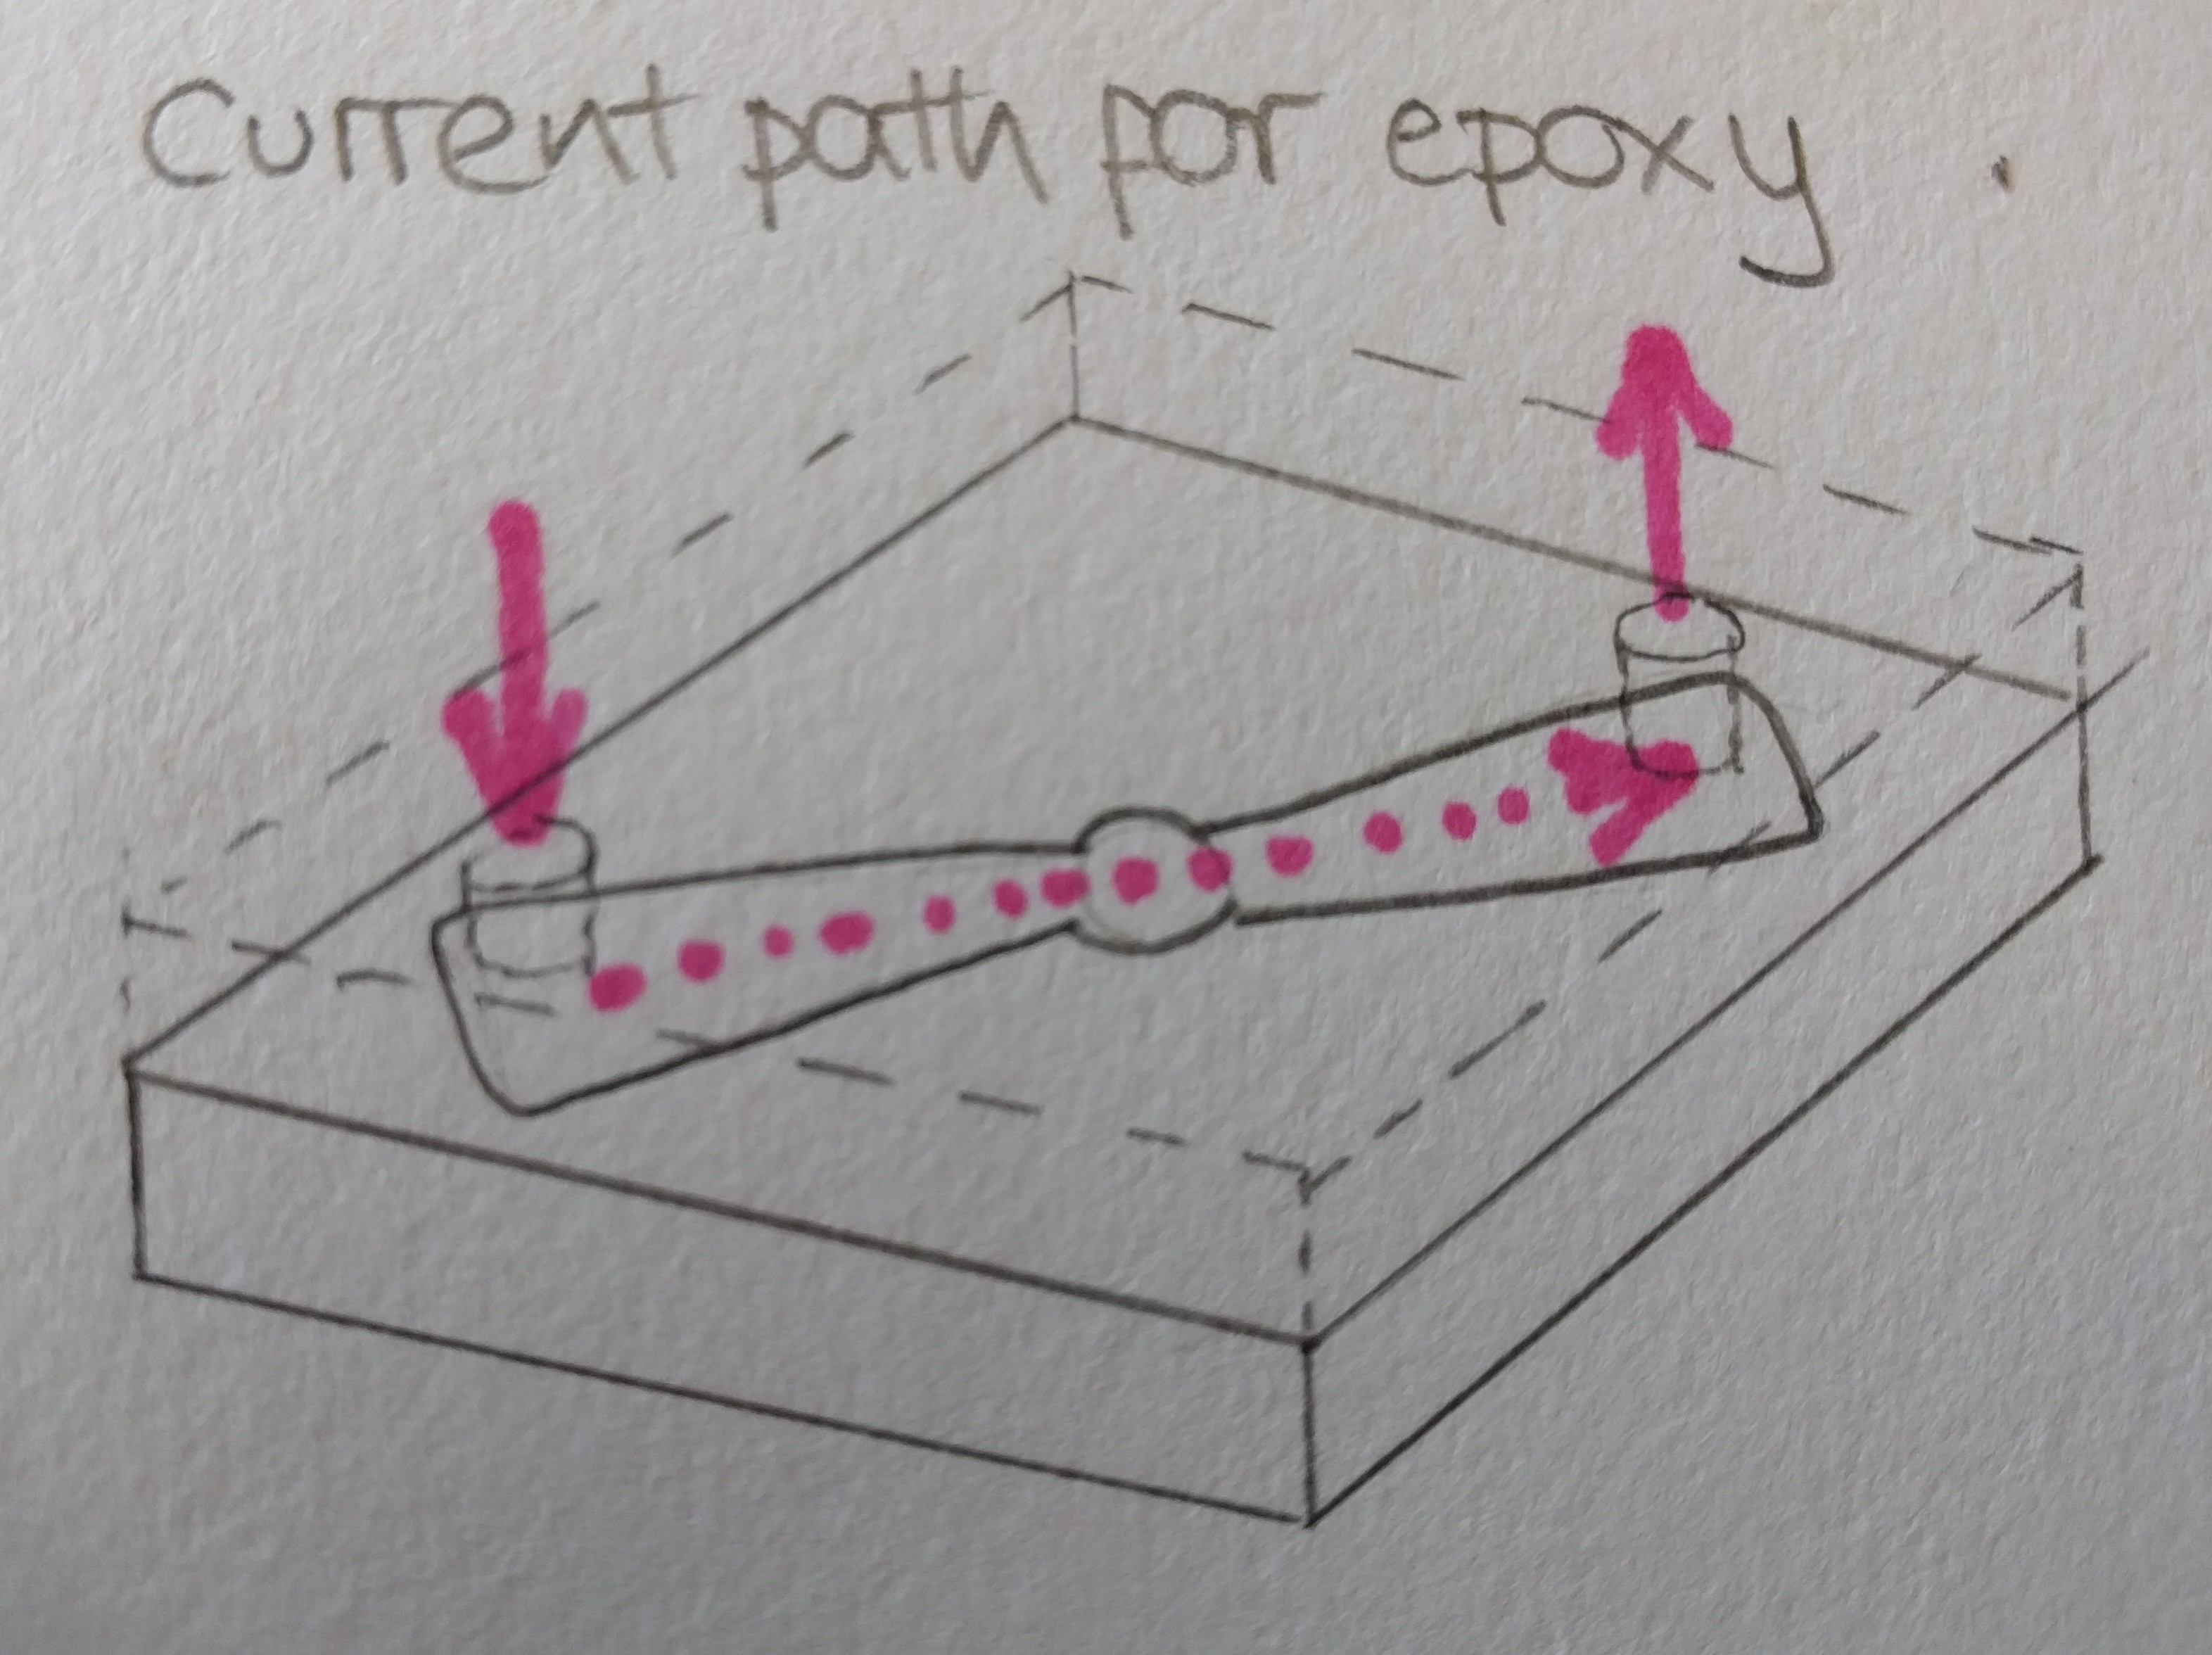
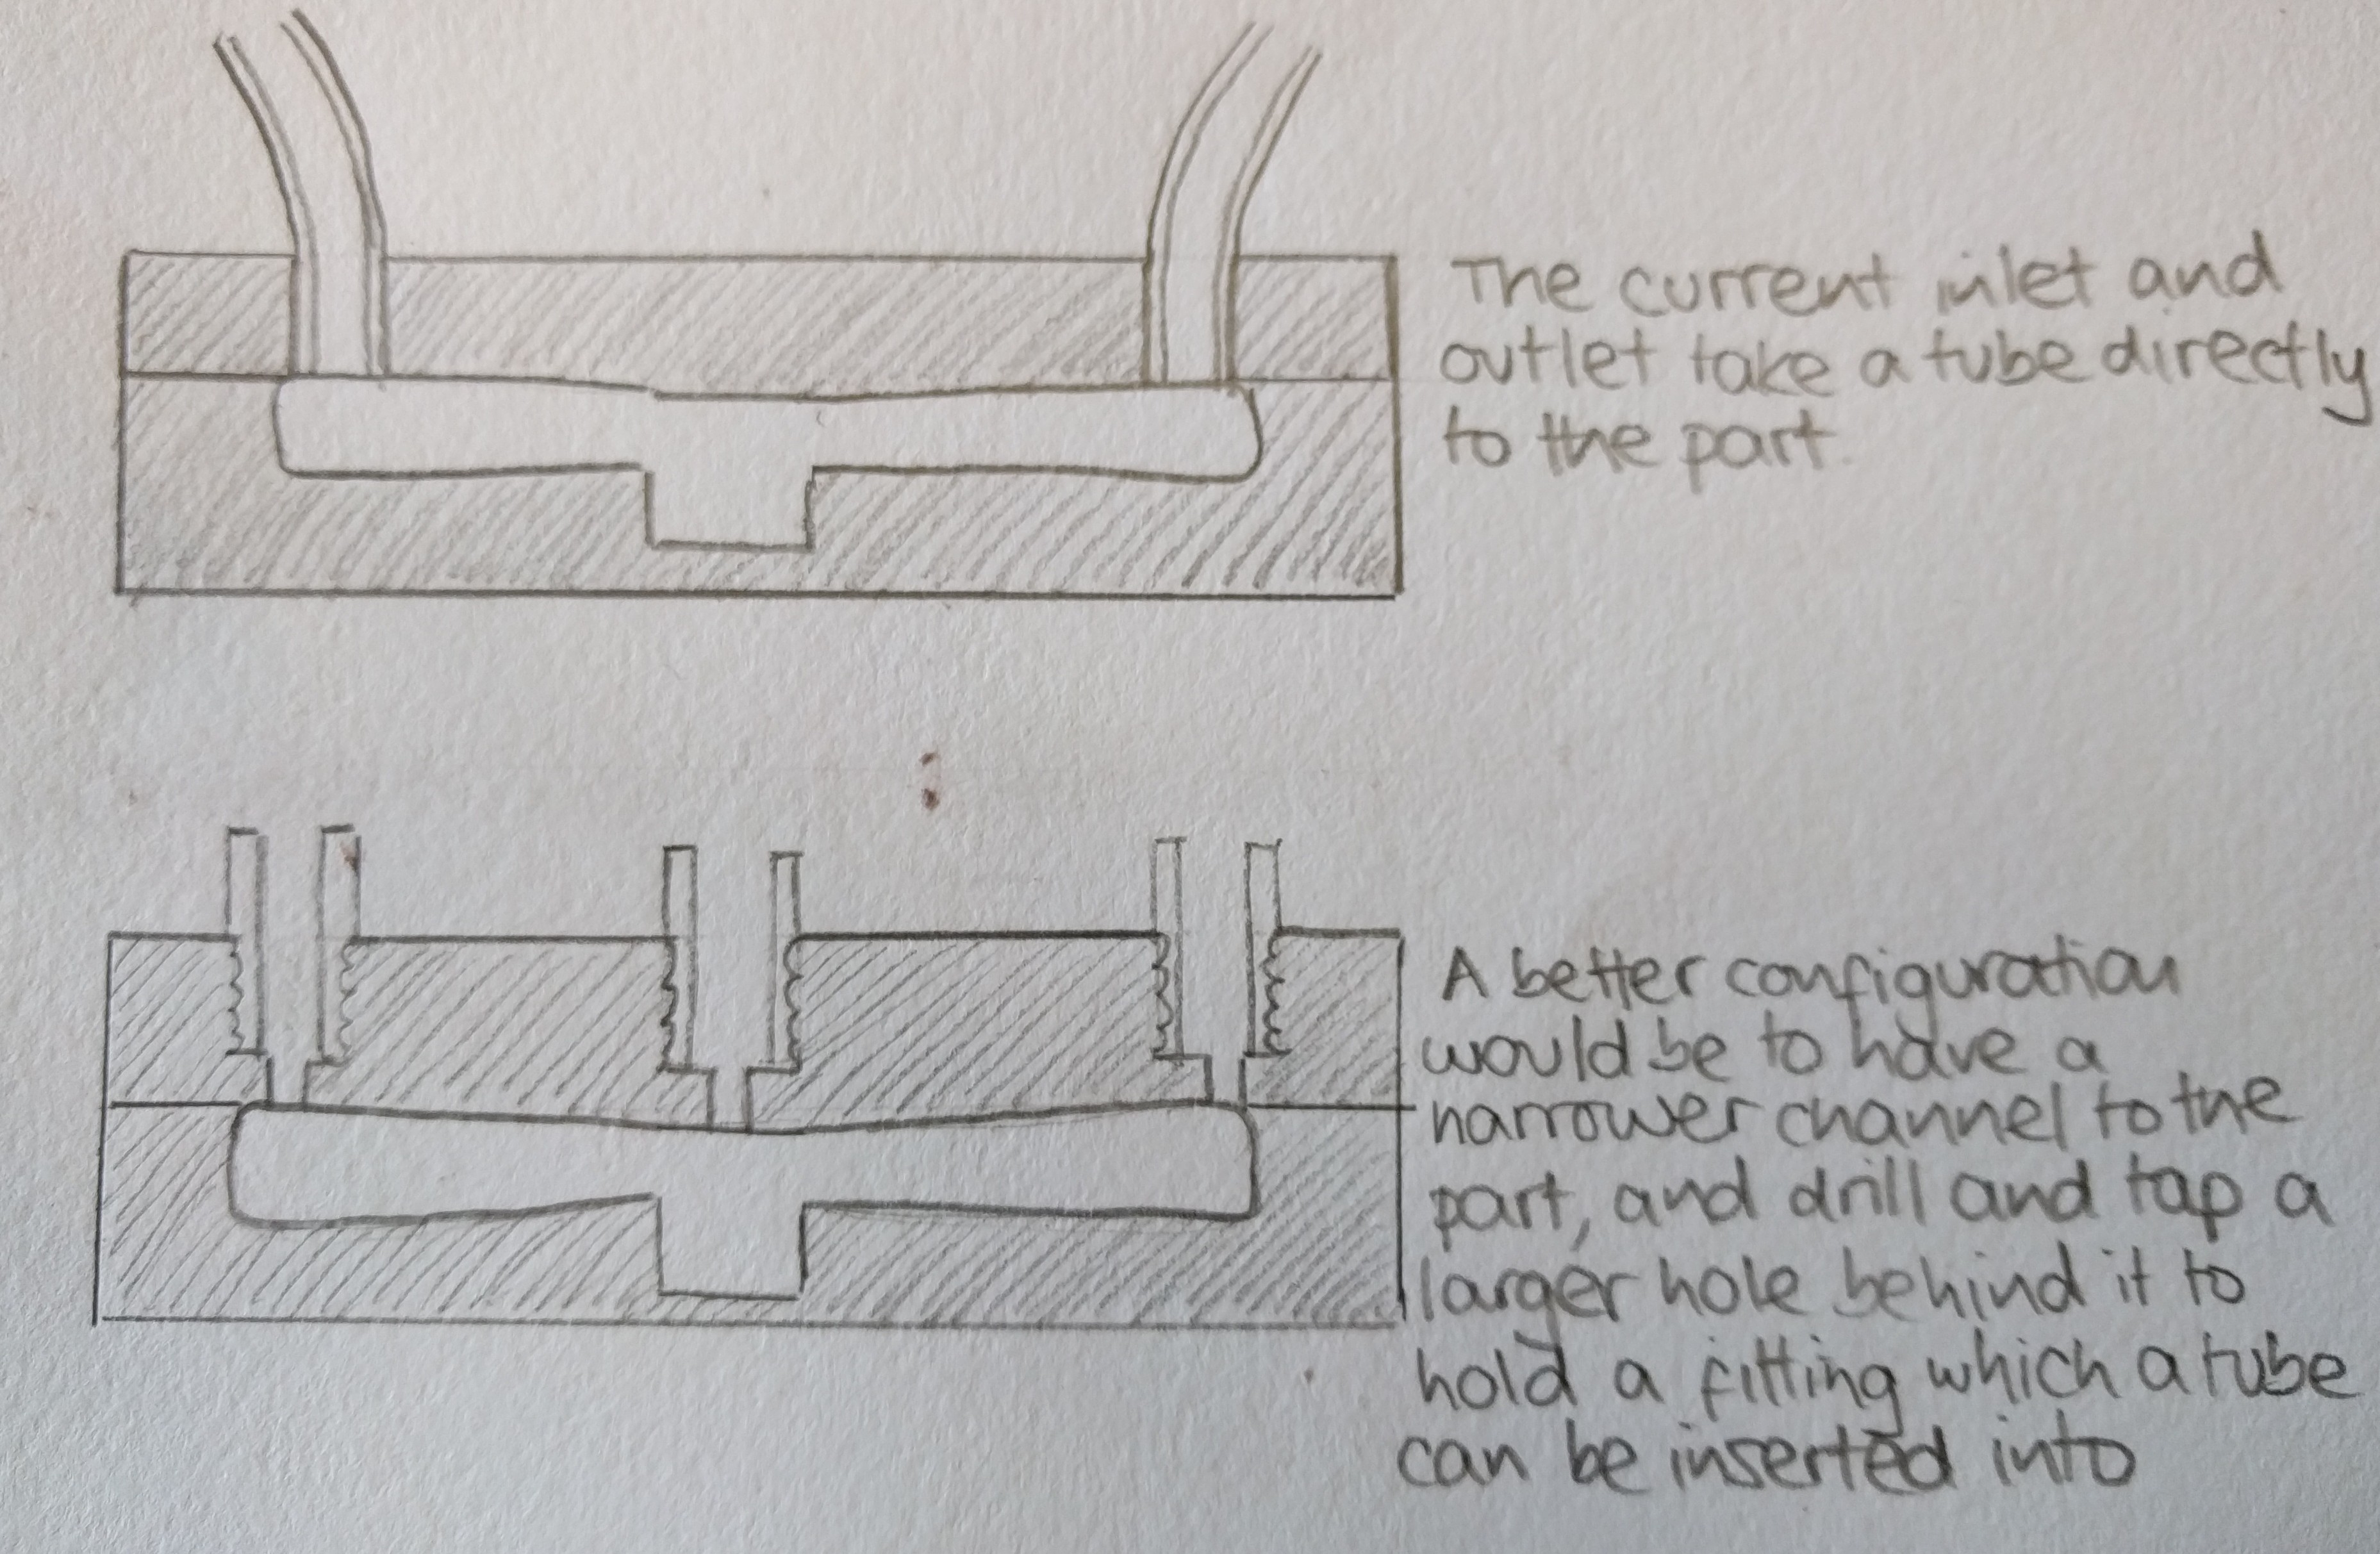
To improve the mold design, the following features could be adjusted to improve the path that the epoxy takes through the mold.
The mason jar assembly held up really well and is ready to be reused.